How to Nail Hardwood Flooring by Hand: A Comprehensive DIY Guide
Unleash your inner DIY enthusiast with our comprehensive guide on how to nail hardwood flooring by hand. Create a space you’ll love.
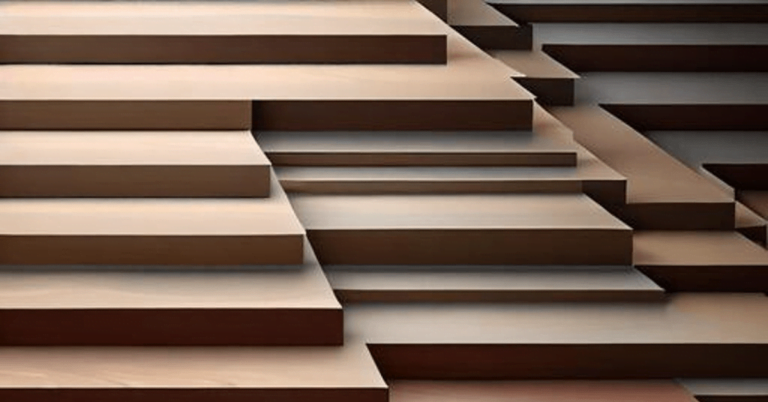
We’ve all seen those beautiful hardwood floors in homes and admired how they add warmth and elegance to a space. But have you ever wondered how they’re installed? It may seem daunting to tackle such a project, but with the right tools and a little know-how, anyone can do it.
In this article, we’ll take you through the steps of how to nail hardwood flooring by hand, so you can enjoy the satisfaction of a job well done and a stunning new floor.
First things first, you’ll need to gather the necessary tools and materials. This includes hardwood flooring, a hammer, nails, a measuring tape, a chalk line, a square, a circular saw, a jigsaw, a pry bar, a nail set, and a drill with a countersink bit. It’s important to have all of these tools on hand to ensure a smooth and efficient installation process.
Once you have everything you need, it’s time to get started!
Gather the Necessary Tools and Materials
Before we start, let’s make sure we have all the necessary tools and materials to nail down hardwood flooring by hand.
First, we need to choose the right wood that is suitable for flooring and can withstand heavy foot traffic. Oak, maple, and hickory are popular choices, but it ultimately depends on your personal preference and budget. Make sure to purchase enough wood to cover the entire floor, including extra boards for cuts and mistakes.
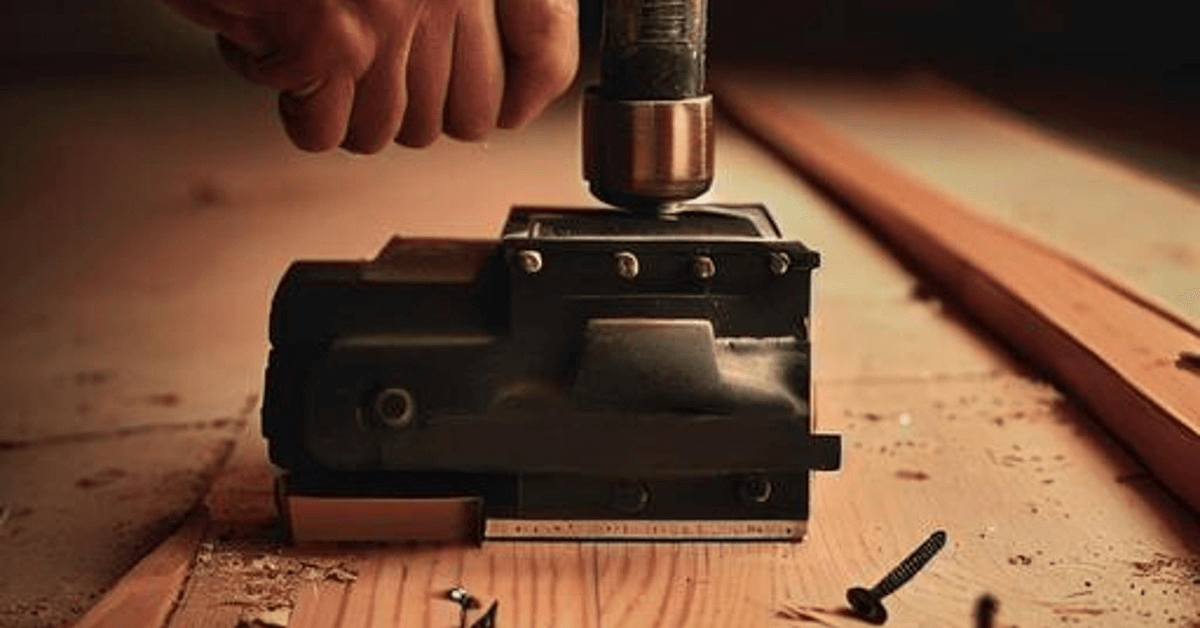
Next, we need to gather all the necessary tools for cutting and installing the hardwood flooring. You’ll need a circular saw or a jigsaw to make precise cuts, a measuring tape to measure the dimensions of the room, a chalk line to mark the layout of the flooring, and a pneumatic flooring nailer or a hammer and nails to secure the boards to the subfloor. It’s also important to wear safety gear such as goggles and gloves to protect yourself from flying wood chips and sharp tools.
Tips for cutting hardwood flooring include measuring twice and cutting once, using a sharp blade to avoid splintering the wood, and making sure the boards are facing the right direction before cutting.
It’s also recommended to start with the longest and straightest wall in the room and work your way towards the opposite wall. This will ensure that the flooring is straight and even throughout the room.
With all the necessary tools and materials at hand, we’re ready to move onto the next step of nailing down the hardwood flooring by hand.
Measure and Mark Your Flooring
To ensure precise placement of your wooden planks, it’s crucial that you take the time to carefully measure and mark them accordingly. Before you begin, it’s important to consider the type of hardwood you’ll be using. Some types of hardwood may be more difficult to nail than others, so it’s important to choose the right type for your project. Additionally, hand nailing your floors has several benefits, including a more authentic look and better durability over time.
Once you have your hardwood planks and tools ready, it’s time to measure and mark your floors. Start by measuring the length and width of the room, then divide the room into sections. This will help you organize your work and ensure that you don’t miss any spots.
Use a chalk line to mark the center of the room, then snap a line down the middle of the room. This will serve as a guide when laying your first row of planks.
Next, measure the width of your hardwood planks and mark the center on each plank. You can use a pencil or chalk to mark the center. This will help you line up your planks as you work and ensure that they are evenly spaced.
Before nailing the planks, make sure they are properly aligned and straight. Once you have everything in place, you can begin nailing your planks to the subfloor, starting at the center and working your way outwards.
With these steps, you can achieve a beautifully finished hardwood floor.
Preparing and Placing the First Row
It’s time to get started on your new wooden masterpiece by preparing and placing the first row, ensuring that your flooring will look stunning and durable for years to come.
Before we begin, let’s review the flooring layout and the wood selection. For the layout, determine the direction of the flooring, and make sure that the first row is straight. As for the wood selection, it’s crucial to choose the right type of hardwood, and make sure that it’s acclimated to the room’s temperature and humidity for at least 72 hours.
Now that we have the layout and wood selection covered, it’s time to start preparing and placing the first row. Here are three easy steps to follow:
- Prepare the first row by cutting the tongue off the first board. Make sure that the cut is clean and straight to ensure a tight fit between boards.
- Place the first board against the wall, making sure that it’s perfectly straight and parallel to the wall. Use a spacer between the board and the wall to allow for expansion and contraction.
- Nail the board into place, making sure that the nails are driven at an angle to prevent splitting. Use a nail set to sink the nails below the surface, and fill the holes with wood filler.
Remember, precision is key when it comes to nailing the first row. Take the time to measure and mark everything correctly, and use the right tools for the job.
With a little bit of patience and attention to detail, you’ll have a beautiful hardwood floor that’ll last for years to come.
Nailing the Flooring in Place
Now that you’re ready to secure your wooden masterpiece in place, let’s talk about how to use your tools to create a sturdy and stunning floor. Nailing techniques play a crucial role in the success of your flooring project.
When nailing, you want to make sure that each plank is securely fastened to the subfloor, without causing any damage to the wood. To achieve this, there are a few things you need to keep in mind.
Choosing the right nails is key to ensuring a strong and lasting hardwood floor. You want to choose nails that are long enough to penetrate through the flooring and into the subfloor, but not so long that they will split the wood. The most common nail size for hardwood flooring is 2 inches in length. You also want to make sure that the nails are made of a strong material, such as stainless steel or coated carbon steel, to prevent rust and corrosion.
To start nailing, place the nail at a 45-degree angle towards the tongue of the plank, about 1 inch from the end. Then, use a nail punch to gently tap the nail into place, making sure the nail head is below the surface of the wood. Repeat this process every 6-8 inches along the length of the plank, making sure to keep the planks straight and tight together.
Once you have finished nailing the first row, move on to the next row and repeat the process until you have covered the entire floor. With a little patience and precision, you’ll have a beautiful hardwood floor that will last for years to come.
Finishing Touches and Clean-Up
After completing the installation of your beautiful wooden floor, don’t forget to add the finishing touches and clean up the space to ensure a polished and professional look.
Before adding any stains, make sure to clean the floor thoroughly. Use a vacuum cleaner to remove any debris and then use a slightly damp mop to wipe the floor. Avoid using too much water, as it can damage the wood. Make sure the floor is completely dry before moving on to the next step.
When selecting a stain, keep in mind that different types of wood will react differently to different stains. It’s recommended to test the stain on a small area of the floor first before applying it to the entire surface. Apply the stain with a brush or a rag, following the manufacturer’s instructions. Allow the stain to dry completely before moving on to the next step.
After the stain has dried, it’s time to add the final touches. Install any baseboards or trim to cover the gaps between the floor and the wall. Use a nail gun or a hammer and nails to secure the trim in place.
Finally, give the floor a final sweep and mop to remove any excess dirt and debris. Congratulations, your hardwood floor is now complete and ready to be enjoyed for years to come!
Conclusion
In conclusion, nailing hardwood flooring by hand may seem like a daunting task, but with the right tools and knowledge, it can be a rewarding and satisfying experience.
Taking the time to measure and mark your flooring, as well as preparing and placing the first row correctly, will ensure that your flooring is installed with precision and care.
By using the appropriate tools, such as a flooring nailer and a hammer, and paying attention to detail throughout the process, you can create a beautiful and long-lasting hardwood floor.
Remember to take your time and double-check your work, and don’t forget to clean up the area once you’re finished. With these tips and tricks, you’ll be able to nail hardwood flooring by hand like a pro.