Your Ultimate Guide to Avoiding Common Mistakes When Laying Laminate Flooring
Discover the top mistakes to avoid when installing laminate flooring. Say goodbye to costly errors and hello to a stunning new floor with our expert guide.
Laminate flooring is a synthetic flooring product that simulates wood with a photographic applique layer under a clear protective layer. It’s a versatile and resilient flooring type that offers the beauty of hardwood but at a much lower cost. However, like any home improvement project, installing laminate flooring requires careful planning and execution. Even small mistakes can lead to big problems down the line, such as buckling, warping, or gapping.
Key Takeways
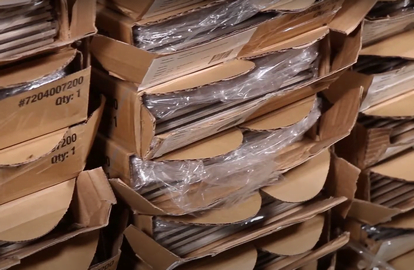
- Acclimate Your Flooring: Always allow your laminate flooring to adjust to the room’s conditions for at least 48 hours before installation to prevent warping or gapping.
- Check Your Subfloor: Ensure your subfloor is clean, dry, and level before installation to avoid issues like uneven flooring or damage to the laminate.
- Plan Your Layout: Proper planning of your flooring layout can prevent ending up with a last row of planks that is too narrow, affecting both the appearance and stability of the flooring.
- Follow Manufacturer’s Instructions: Always adhere to the specific instructions provided by the manufacturer to ensure proper installation and to maintain the validity of your warranty.
Common Mistakes and How to Avoid Them

1. Not Acclimating the Flooring
One of the most common mistakes people make when installing laminate flooring is not acclimating the flooring to the room’s temperature and humidity. Laminate flooring, like real wood, expands and contracts depending on the environment.
How to Avoid: To prevent warping or gapping after installation, it’s recommended to leave the unopened boxes of laminate in the room where they will be installed for at least 48 hours. This allows the laminate to adjust to the room’s conditions. Learn more about the importance of acclimating your laminate flooring here.
2. Not Leaving an Expansion Gap
Laminate flooring expands and contracts with changes in temperature and humidity. If the flooring is installed without leaving an expansion gap around the edges of the room, it can lead to problems like buckling or warping.
How to Avoid: Always leave a gap of about 1/4 inch to 1/2 inch around the edges of the room. This gap can be covered with base molding or quarter round to give a finished look.
3. Not Using the Right Tools
Using the wrong tools can not only make the installation process more difficult but also damage the flooring.
How to Avoid: Make sure you have all the necessary tools before starting the installation. Essential tools for installing laminate flooring include a tapping block, pull bar, spacers, a circular saw or jigsaw for cutting the planks, a tape measure, and a pencil for marking.
4. Not Checking the Subfloor
The condition of the subfloor is crucial for a successful laminate flooring installation. If the subfloor is not clean, dry, and level, it can lead to problems like uneven flooring or damage to the laminate.
How to Avoid: Before starting the installation, check the subfloor carefully. It should be clean, free of debris, and level. If there are any high spots, they can be sanded down, and low spots can be filled with a leveling compound. Also, make sure the subfloor is dry. Moisture can damage the laminate and cause it to warp or swell.
5. Not Planning the Layout
Without proper planning, you may end up with a last row of planks that is too narrow, which can affect the appearance and stability of the flooring.
How to Avoid: Before starting the installation, plan the layout of the flooring. Decide on the direction of the planks. Typically, planks are installed parallel to the longest wall in the room. Also, measure the room and calculate the width of the last row of planks. If it’s less than half the width of a plank, you should cut thefirst row of planks narrower so that the first and last rows will be approximately the same width.
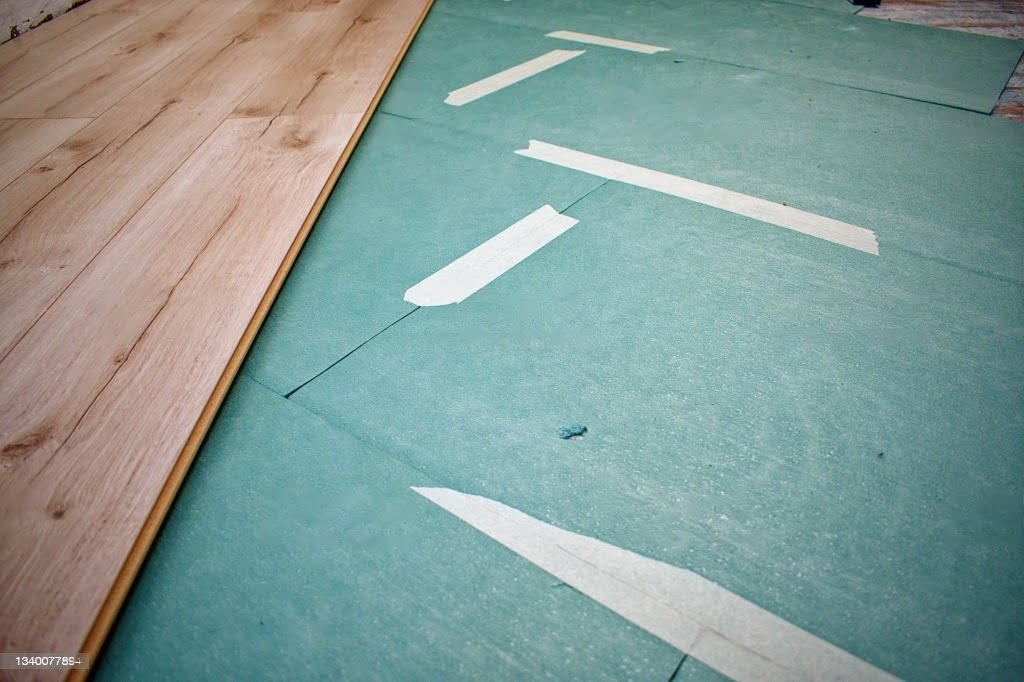
6. Not Using Underlayment
Underlayment is a thin foam padding that is installed under laminate flooring. It provides several benefits, including smoothing out minor subfloor imperfections, providing some level of moisture protection, reducing noise, and making the floor more comfortable to walk on.
How to Avoid: Always use underlayment when installing laminate flooring. Some laminate products come with pre-attached underlayment, making the installation process easier. If your laminate doesn’t have pre-attached underlayment, you’ll need to purchase it separately and install it before laying the laminate. You can learn more about the importance of underlayment for laminate flooring here.
7. Ignoring Manufacturer’s Instructions
Each manufacturer may have specific instructions for their product. Ignoring these instructions can lead to improper installation and void the warranty.
How to Avoid: Always read and follow the manufacturer’s instructions. They will provide specific guidelines regarding acclimation time, expansion gap size, and other important details. If you’re unsure about any part of the instructions, don’t hesitate to contact the manufacturer for clarification.
Additional Tips for a Successful Installation
Understand the Click-Lock System
Most laminate flooring products come with a click-lock system that allows the planks to be easily snapped together. Understanding how this system works can make the installation process smoother. Practice with a few planks before starting the actual installation to get a feel for how they fit together.
Use a Staggered Layout
When installing laminate flooring, it’s best to use a staggered layout. This means that the end joints of the planks in one row should not align with the end joints in the next row. A staggered layout not only looks better but also adds stability to the flooring.
Take Care of the Finishing Touches
After the laminate flooring is installed, don’t forget about the finishing touches. Install base molding or quarter round to cover the expansion gap around the edges of the room. Also, install transition strips where the laminate meets other types of flooring to provide a smooth transition.
Cleaning and Maintenance
Once your laminate flooring is installed, it’s important to know how to properly clean and maintain it to keep it looking great for years to come. Avoid using a steam mop on laminate flooring as it can cause damage. You can learn more about how to properly clean laminate flooring here.
Frequentl Asked Questions
Conclusion
Installing laminate flooring can be a rewarding DIY project that adds beauty and value to your home. However, it requires careful planning and attention to detail. By avoiding the common mistakes discussed in this guide, you can ensure a successful and long-lasting installation. Remember, if you’re unsure about any part of the process, it’s always best to consult with a professional.