How To Cut Hardwood Flooring
Are you planning to install hardwood flooring in your home but don’t know how to cut it? Cutting hardwood flooring…
Are you planning to install hardwood flooring in your home but don’t know how to cut it?
Cutting hardwood flooring can be a daunting task, especially if you’re not familiar with the proper techniques and tools.
However, with the right tools, safety precautions, and a little bit of practice, you can cut hardwood flooring like a pro.
In this article, we’ll guide you through the process of cutting hardwood flooring, from choosing the right tools to measuring and marking your cuts.
We’ll also provide you with some tips and tricks to make your cutting process easier and more efficient.
Whether you’re a DIY enthusiast or a professional contractor, this article will give you the knowledge and skills you need to cut hardwood flooring with confidence.
So, let’s get started!
Choosing the Right Tools for Cutting Hardwood Flooring
You’ll need to grab the right tools for tackling those beautiful planks of solid wood, so get ready to feel the satisfying heft of the saw in your hand and hear the whirring of the blade as it slices through the dense material.
When it comes to cutting hardwood flooring, two popular choices are the circular saw and the jigsaw. While the circular saw is known for its power and precision, the jigsaw is more versatile and allows for more intricate cuts.
The circular saw is a reliable choice for cutting hardwood flooring. Its powerful motor and sharp blade can make quick work of even the thickest planks. However, it can also be a bit unwieldy, making it difficult to use in tight spaces or when making intricate cuts.
On the other hand, the jigsaw is a more versatile option that can handle a variety of cuts, including curves and angles. However, it may not be as powerful as the circular saw, which can make it more time-consuming to use.
When it comes to maintaining and sharpening your cutting tools, there are a few tips to keep in mind. First, be sure to keep your blades clean and free of debris, as this can cause them to dull more quickly. Additionally, invest in a high-quality sharpening tool and take the time to sharpen your blades regularly.
Finally, pay attention to the condition of your blades and replace them when necessary to ensure optimal performance. By following these tips, you can ensure that your cutting tools are always in top condition and ready to tackle even the toughest hardwood flooring.
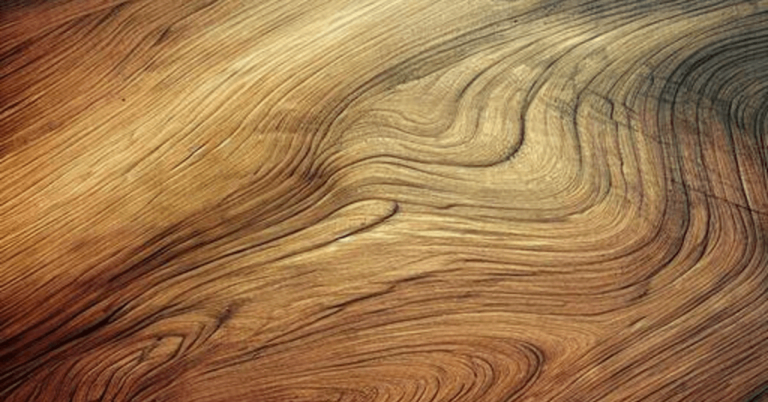
Understanding the Type of Hardwood You’re Working With
Before diving into the DIY project, it’s crucial to identify the species of wood you’re dealing with to ensure the best possible outcome.
Two factors to consider when cutting hardwood flooring are grain direction and moisture content. The grain direction of the wood can have a significant impact on the final product. Cutting against the grain can cause the wood to splinter, while cutting with the grain will produce clean cuts.
Additionally, moisture content can affect the wood’s density, making it either harder or softer. Softwood, such as pine, is easier to cut than hardwood, such as oak or maple.
Once you have identified the species of wood, it’s essential to choose the right tools and blades for the job. For example, a table saw with a carbide-tipped blade works well for hardwood flooring. However, you may need to adjust the blade’s height to ensure the correct depth of cut.
A jigsaw can also work, but it may not produce the cleanest cuts. If you’re making intricate cuts, such as around door frames or vents, a coping saw or oscillating multi-tool may be necessary.
In summary, understanding the type of hardwood you’re working with is crucial for a successful DIY flooring project. Factors such as grain direction and moisture content can impact the wood’s density and therefore its ease of cutting.
Selecting the appropriate tools and blades for the job is equally important. With the right preparation and tools, even the most challenging hardwood flooring projects can be completed with ease.
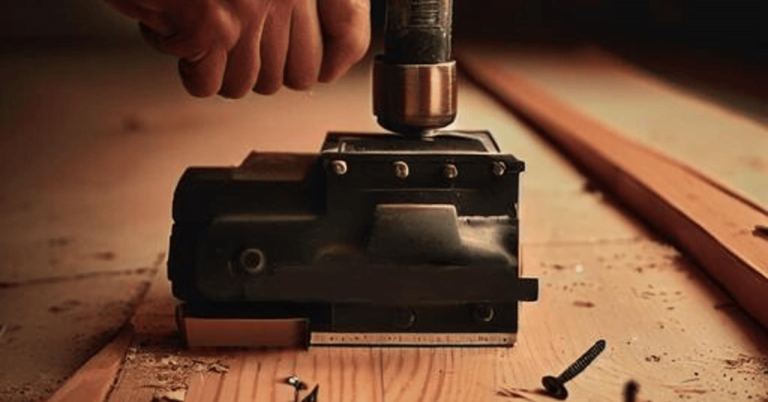
Safety Precautions When Working With Power Tools
To ensure your safety when working with power tools, it’s crucial to take the necessary precautions and wear appropriate gear.
Before using any power tool, make sure you’re wearing proper attire such as safety goggles, earplugs, and gloves. Loose clothing and jewelry should also be avoided as they can easily get caught in the equipment. Additionally, it’s important to have a first aid kit nearby in case of any accidents.
When using a power saw to cut hardwood flooring, always make sure the blade is sharp and properly secured. Follow the manufacturer’s instructions carefully and never attempt to force the saw through the wood. Keep your hands and fingers away from the blade and use a push stick to guide the wood through the saw. It’s also a good idea to use a dust mask and work in a well-ventilated area to avoid inhaling sawdust.
Finally, be sure to turn off the power tool and unplug it when you’re finished using it. Store the tool in a safe place where children or pets can’t access it.
By taking these safety precautions, you can enjoy the satisfaction of completing a hardwood flooring project while minimizing the risk of injury.
Measuring and Marking Your Cuts
Measuring and marking your cuts can be a tedious task, but it’s important for cutting accuracy. When cutting hardwood flooring, it’s crucial to take accurate measurements to avoid mistakes that could lead to wasted material.
To start, we need to gather the proper tools such as a tape measure, pencil, and a square. It’s essential to use measuring tools correctly to ensure precise measurements.
When measuring your hardwood flooring, it’s essential to measure twice and cut once. Take your time and make sure to measure the area correctly before cutting. Use a square to ensure that your cuts are straight and even.
When marking your cuts, use a pencil to make visible marks that are easy to see. It’s essential to mark the cuts on the underside of the flooring to avoid visible markings on the finished surface.
Before making any cuts, double-check your measurements and markings to ensure accuracy. It’s always better to take extra time to measure and mark correctly than to rush and make a mistake.
By following these steps, you can ensure that your hardwood flooring project turns out just right. Taking the time to measure and mark your cuts is essential to achieving a professional-looking finish.
Techniques for Cutting Hardwood Flooring Like a Pro
Mastering techniques for precision cutting of wooden planks is crucial for achieving a refined finish in your flooring project. One of the most important things to keep in mind is to avoid common mistakes that may damage your flooring.
For instance, you should ensure that the saw blade is sharp and properly aligned before cutting. A dull or misaligned blade can cause the wood to splinter or warp, which can be difficult to fix.
Another important technique for cutting hardwood flooring is to use the right saw. A miter saw is ideal for making crosscuts, while a table saw is better suited for ripping long planks. It’s also important to use the right blade for the job.
For instance, a fine-toothed blade is great for cutting hardwood, while a coarse blade is better for softwood. You should also adjust the saw blade depth to match the thickness of the wood you’re cutting.
Finally, it’s important to use the right cutting technique to achieve precision cuts. For instance, when using a miter saw, you should hold the wood firmly against the fence and blade guard while making the cut. You should also use a stop block to ensure that all your cuts are of the same length.
When using a table saw, you should use a push stick to keep your hands at a safe distance from the blade. With these techniques, you can cut hardwood flooring like a pro and achieve a polished finish that will last for years to come.
Conclusion
Overall, cutting hardwood flooring can seem like a daunting task, but with the right tools and techniques, it can be done with ease. It’s important to choose the right tools for the job, whether that be a miter saw, circular saw, or jigsaw.
Understanding the type of hardwood you’re working with is also key in ensuring a clean and precise cut. Safety should always be a top priority when working with power tools, so taking the necessary precautions, such as wearing eye and ear protection, is a must.
Measuring and marking your cuts accurately is crucial in achieving a seamless installation. Finally, using techniques such as scoring and snapping or using a specialized blade can make all the difference in achieving a professional-looking cut.
With these tips in mind, cutting hardwood flooring can be a breeze.