Step-by-Step Guide: How to Remove Old Linoleum from Wood Floors
Uncover the charm of your wood floors by removing old linoleum. Our guide walks you through each step, from preparation to applying a new finish. Transform your home with a beautiful, restored wood floor.
If you’re looking to update your home’s flooring, you may come across the challenge of removing old linoleum from a wood floor. Fortunately, with the right tools and techniques, this process can be done efficiently and effectively.
In this article, we’ll walk you through the steps of removing old linoleum from a wood floor and preparing it for a new finish.
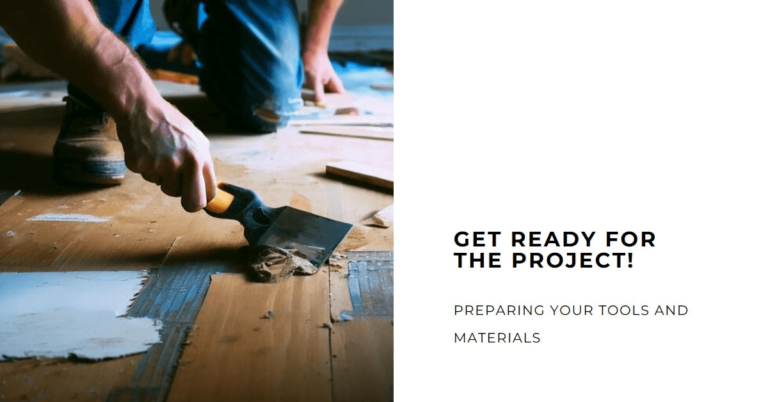
Before you begin, it’s important to ensure that you have all the necessary tools and materials. This includes a heat gun, scraper, sandpaper, adhesive remover, and a new finish for the wood floor.
It’s also important to prepare your work area by clearing out any furniture or obstacles and covering any nearby surfaces with drop cloths. With these preparations in place, you’re ready to begin the process of removing old linoleum from your wood floor.
Preparing Your Work Area
Before we start removing old linoleum from a wood floor, it’s important to prepare our work area properly.
First things first, we need to protect the floor in the surrounding area. Use drop cloths or plastic sheets to cover the nearby areas to prevent any damage or scratches. This will keep the work area clean and protect the surrounding surfaces from accidents.
The next step is to ensure proper ventilation in the work area. Linoleum removal can be a dusty and messy process, so it’s essential to have good airflow. Open windows and doors, and use a fan or an extractor to keep the air moving. This will help to reduce the amount of dust and fumes that accumulate in the work area.
Finally, it’s necessary to have all the tools and materials ready before starting the job. Gather a scraper, a putty knife, a heat gun, gloves, and safety glasses. These tools will help you remove the old linoleum from the wood floor.
Once you’ve prepared the work area, you’re ready to start with confidence and tackle the next step of the process.
Softening and Removing Linoleum Adhesive
Softening and taking off the adhesive is a crucial step in this process, so be sure to use a heat gun or boiling water to make it easier. Chemical alternatives are also available, but they should be used with caution, as they can be harmful to both humans and the environment.
When using a heat gun, be sure to wear protective gear, such as safety glasses and gloves, to prevent injury. To soften the adhesive, hold the heat gun a few inches away from the surface and move it back and forth until the adhesive becomes soft. Use a scraper or putty knife to gently lift the linoleum as you go. Be sure to work in small sections, as the adhesive may harden again if it cools down.
If you prefer to use boiling water, pour it directly over the linoleum and let it sit for a few minutes. Use a scraper or putty knife to lift the linoleum, and repeat the process until all the linoleum is removed. When removing the adhesive, use a solvent specifically designed for this purpose.
Apply the solvent to the adhesive and let it sit for a few minutes, then use a scraper or putty knife to remove the adhesive. Be sure to follow the manufacturer’s instructions carefully and wear protective gear to avoid any potential hazards. Once all the adhesive has been removed, clean the floor thoroughly with warm water and a mild detergent.
Using a Heat Gun to Loosen the Linoleum
You can easily loosen the stubborn linoleum with a heat gun, just make sure you protect yourself with safety gear. Before starting, wear gloves, safety glasses, and a respirator mask to avoid inhaling any harmful fumes. Also, make sure to keep a fire extinguisher nearby, just in case.
Using a heat gun to remove linoleum is a popular method among DIY enthusiasts and professionals alike. It’s effective and efficient, saving a lot of time and effort. To start, plug in the heat gun and set it to the highest setting. Hold it a few inches away from the linoleum and move it back and forth until the adhesive starts to soften.
As the linoleum adhesive softens, use a scraper to gently lift it off the wood floor. Be careful not to scratch or damage the wood underneath. If you encounter any stubborn spots, apply more heat and try again.
Once you have removed all the linoleum, clean the floor thoroughly with a scraper or a putty knife. Finally, wipe the floor with a clean, damp cloth to remove any remaining residue.
With this method, you can easily remove old linoleum from your wood floor without using any harmful chemicals or alternative methods.
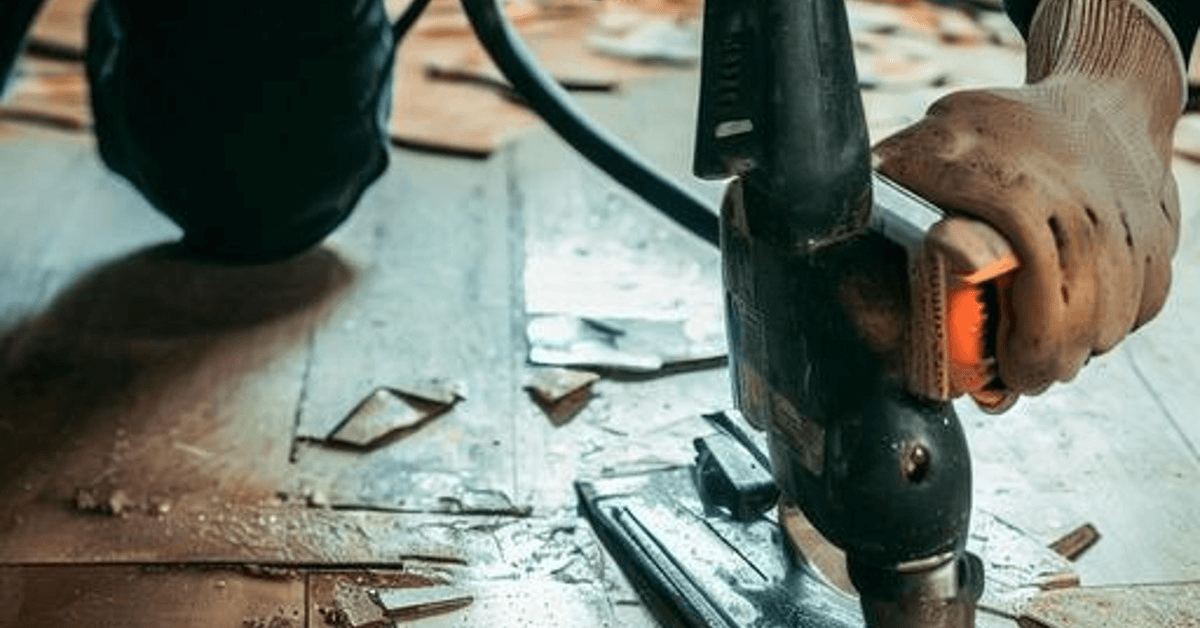
Scraping and Sanding the Wood Floor
Now it’s time to scrape and sand the surface to reveal a smooth, bare wood underneath. Before starting the removal process, it’s crucial to protect the surrounding floors and walls. You can use drop cloths or plastic sheets to cover the floors and walls to prevent any damage or staining. Additionally, it’s essential to wear protective gear such as gloves, goggles, and face masks to avoid inhaling dust and debris.
To begin the scraping process, you can use a scraper tool to lift the edges of the linoleum and peel it off in sections. If the adhesive is particularly stubborn, you can use a putty knife to scrape it off gently. It’s crucial to be careful while scraping to prevent any damage to the wood underneath. Once you’ve removed the majority of the linoleum, it’s time to sand the surface. You can use a belt sander or a sanding block to remove any remaining adhesive or rough patches. Make sure to sand in the direction of the wood grain to avoid any scratches or gouges.
After sanding, it’s essential to clean up the area and dispose of the linoleum and adhesive safely. You can use a vacuum cleaner to remove any dust or debris. It’s important to follow the proper disposal methods for linoleum and adhesive, which may vary according to your location. You can check with your local waste management facility or consult with a professional for guidance. Once you’ve disposed of the linoleum and adhesive, you can finish the wood floor as desired, whether by staining, painting, or leaving it bare.
Applying a New Finish to the Wood Floor
After thoroughly sanding the surface, it’s time to apply a new finish to revitalize the worn-out look of the space.
Choosing the right finish is crucial to protect the wood floor from future damage. There are two main types of finishes: oil-based and water-based. Oil-based finishes are more durable and provide a glossy look, but they take longer to dry and have a strong odor. Water-based finishes, on the other hand, dry faster, have low VOC emissions, and are easier to clean up.
Maintaining the wood floor after refinishing is also important to prolong its lifespan. Regular cleaning with a damp mop and mild detergent is recommended to remove dirt and grime. Avoid using harsh chemicals or abrasive cleaners that can damage the finish.
Place felt pads under furniture legs to prevent scratches and use rugs in high traffic areas to minimize wear and tear.
After applying the finish, allow it to dry completely before walking on the surface. The drying time can vary depending on the type of finish used. Once the finish is dry, inspect the surface for any missed spots or imperfections. Touch up any areas as necessary.
Finally, admire the newly refinished wood floor and enjoy the revitalized look of the space.
Conclusion
Removing old linoleum from a wood floor can be a tedious and time-consuming process, but with the right tools and techniques, it can be done effectively.
Before starting, make sure to prepare your work area by removing any furniture and covering nearby surfaces with protective materials.
Soften the adhesive using a solution of warm water and dish soap or a commercial adhesive remover, and use a scraper to gently lift the linoleum from the floor.
If the adhesive is particularly stubborn, a heat gun can be used to loosen it further before scraping.
Once the linoleum is removed, use a combination of scraping and sanding to remove any remaining adhesive and smooth out the wood floor.
Finally, apply a new finish to the floor to restore its appearance and protect it from future wear and tear.
While the process may be labor-intensive, the end result will be a beautiful, restored wood floor that will add value and charm to your home.