DIY Guide: How to Easily Repair Your Linoleum Flooring
Discover the joy of repairing your linoleum flooring yourself! Our guide covers everything from fixing scratches and scuffs to repairing tears and removing stains. Get your floors looking like new again!
If you have linoleum flooring in your home, it’s important to know how to repair it when it gets damaged. Linoleum is a durable and affordable flooring option, but it’s still prone to scratches, scuffs, tears, and stains.
Fortunately, with the right tools and techniques, you can easily repair your linoleum flooring and restore it to its original condition.
In this article, we’ll walk you through some common issues that can arise with linoleum flooring and show you how to fix them.
From scratches and scuffs to tears and holes, we’ll cover everything you need to know to get your linoleum looking like new again.
So, gather your tools and materials and let’s get started!
Identifying Common Issues with Linoleum Flooring
Before you start fixing any problems, it’s important to understand what common issues you may encounter with linoleum flooring.
One of the most common issues is wear and tear, which results in scratches, scuffs, and fading. This can be caused by high traffic, harsh cleaning products, and UV exposure.
Another issue is water damage, which can cause warping, buckling, and discoloration. This can be caused by spills, leaks, or improper installation.
Finally, replacing linoleum can be a challenge because it is difficult to match the existing color and pattern.
Proper maintenance is key to avoiding these common issues and prolonging the lifespan of your linoleum flooring.
To prevent wear and tear, make sure to use gentle cleaning products, avoid high heels and heavy furniture, and use area rugs in high traffic areas.
To prevent water damage, address spills and leaks immediately, use a humidifier to control moisture levels, and ensure proper installation with a moisture barrier.
Additionally, regular waxing and polishing can help protect the surface from damage and keep it looking like new.
In conclusion, identifying common issues with linoleum flooring is an important first step in repairing and maintaining it.
By understanding the causes of wear and tear and water damage, you can take preventative measures to avoid these issues and keep your flooring looking great.
Proper maintenance, including gentle cleaning, avoiding heavy furniture and high heels, and regular waxing and polishing, can also help extend the lifespan of your linoleum flooring.
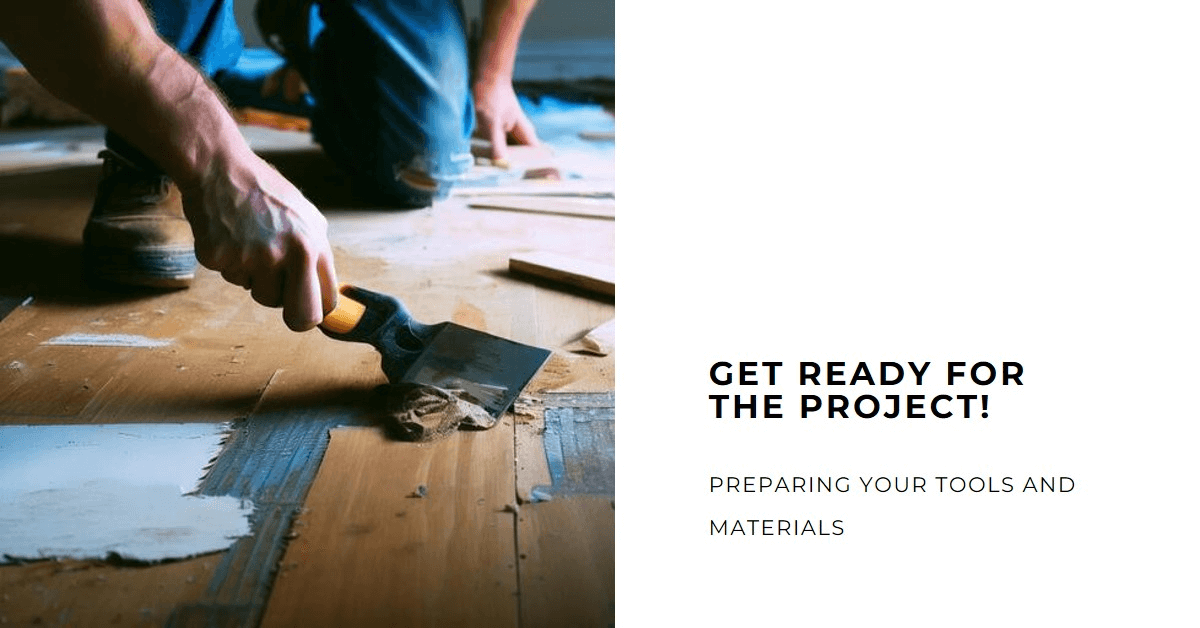
Preparing Your Tools and Materials
To get started, you’ll need to gather up all of the necessary tools and materials for the job. Using the right tools is crucial to ensure that the repair process is done correctly.
You will need a putty knife to remove any damaged linoleum, sandpaper to smooth out any rough spots, and adhesive to glue the new linoleum in place. A utility knife will also be necessary to cut the linoleum to the appropriate size.
Selecting the appropriate materials is also important. Make sure to purchase linoleum that matches the color and pattern of your existing flooring. You may also need to purchase a subflooring material if the damage is severe.
In addition, you will need adhesive that is specifically designed for linoleum flooring. Using the wrong adhesive can cause the linoleum to warp or buckle.
Once you have gathered all of your tools and materials, it’s time to begin the repair process. Make sure to read the manufacturer’s instructions for the adhesive carefully before beginning.
You may also want to practice cutting the linoleum on a scrap piece before cutting the actual flooring. With the right tools and materials, you can successfully repair your linoleum flooring and restore it to its former glory.
Fixing Scratches and Scuffs
Got scratches and scuffs on your beloved linoleum floors? Don’t worry, we’ve got you covered with some easy fixes!
Here are three simple steps to get your floors looking as good as new:
- Filling dents: Start by cleaning the scratched or dented area. Then, apply a small amount of linoleum filler to the affected area with a putty knife, making sure to smooth it out evenly. Allow the filler to dry completely before sanding the area lightly with a fine-grit sandpaper. Finish by wiping the area clean with a damp cloth.
- Buffing out marks: For smaller scuffs and marks, try buffing them out with a soft, damp cloth. Start by cleaning the area thoroughly and then rubbing the mark gently in a circular motion with the damp cloth. If the mark is still visible, try using a melamine foam eraser or a baking soda and water mixture to gently scrub it away.
- Protecting your floors: Once your linoleum floors are looking great again, it’s important to protect them from future damage. Avoid dragging heavy furniture across the floor and use furniture pads or area rugs under chairs and tables. Regularly sweeping and mopping your floors will also help keep them looking their best.
By following these simple steps, you can easily fix scratches and scuffs on your linoleum flooring and keep it looking great for years to come. So don’t stress about those pesky marks – take action and get your floors looking their best again!
Repairing Tears and Holes
If you’ve got holes and tears in your beloved floors, don’t worry – we’ve got some easy fixes for you!
When it comes to repairing tears and holes in linoleum flooring, patching techniques are your best bet. For small holes, you can use a vinyl or linoleum repair kit to fill in the hole and create a seamless surface. Make sure to match the color of the patch as closely as possible to the existing flooring for a flawless finish.
For larger tears or holes, you’ll need to cut out the damaged area and replace it with a patch. First, use a utility knife to cut out the damaged section in a square or rectangular shape. Then, cut a matching patch from a spare piece of linoleum or vinyl flooring.
Make sure the patch is slightly larger than the hole to ensure a secure fit. Apply adhesive to the back of the patch and carefully place it into the hole, pressing down firmly to ensure it’s securely in place.
Once the patch is in place, use a seam roller to press down on the edges and ensure a tight seal. Smooth out any bumps or bubbles with a rolling pin or by hand.
Finally, clean up any excess adhesive with a damp cloth and allow the patch to dry completely before walking on it. With these simple patching techniques and color matching tips, your linoleum flooring will look as good as new in no time!
Removing Stains and Discoloration
Removing stains and discoloration can be a simple task with the right tools and techniques. Before attempting to remove stains, it’s important to identify the cause of the discoloration.
Common culprits include spills, exposure to sunlight, and improper cleaning techniques. To prevent discoloration, it’s important to practice preventative maintenance, such as keeping the floor clean and avoiding exposure to direct sunlight.
To remove stains from linoleum flooring, start by cleaning the affected area with a mild detergent and warm water. For stubborn stains, try using a mixture of baking soda and water to create a paste. Apply the paste to the stain and let it sit for 10-15 minutes before wiping it away with a clean cloth.
For more stubborn stains, consider using a commercial linoleum cleaner. Be sure to follow the manufacturer’s instructions carefully. If discoloration is due to exposure to sunlight, consider using blinds or curtains to limit exposure.
If the discoloration is severe, it may be necessary to replace the affected area of linoleum. When replacing linoleum, be sure to match the color and pattern as closely as possible to the existing flooring. Remember to always take proper safety precautions when working with linoleum, such as wearing gloves and eye protection.
With the right tools and techniques, removing stains and discoloration from linoleum flooring can be a simple task.
Conclusion
In conclusion, repairing linoleum flooring may seem daunting, but with the right tools and techniques, it can be a simple and cost-effective solution.
It’s important to identify the issue at hand, whether it’s scratches, tears, or stains, before beginning any repairs. Once you’ve assessed the damage, gather the necessary tools and materials, including a putty knife, adhesive, and perhaps a replacement piece of linoleum.
For scratches and scuffs, using a simple wax or sealant can often do the trick. Tears and holes may require more extensive repairs, such as filling with adhesive or replacing the damaged section altogether.
For stains and discoloration, a combination of baking soda and vinegar or specialized cleaning products may be necessary.
By following these tips and techniques, you’ll be able to restore your linoleum flooring to its former glory in no time.