How to Remove Parkay Flooring from Wood Subfloor
Uncover the secrets to efficiently removing parkay flooring from wood subfloors. From essential tools and safety measures to DIY vs. professional help, this comprehensive guide covers everything you need to know to transform your home with confidence.
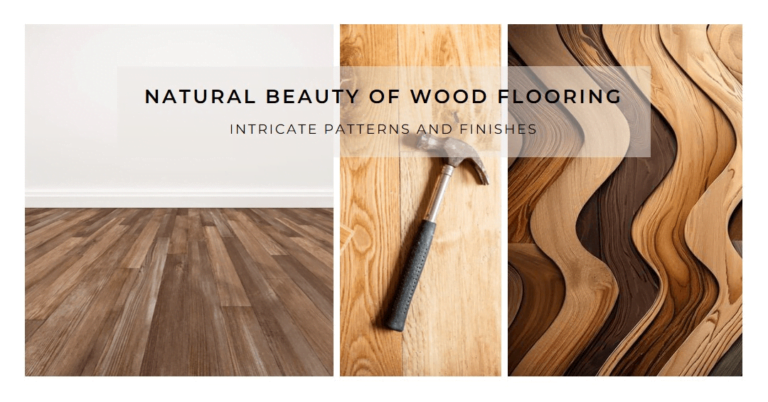
Parkay flooring, an elegant and timeless choice for interior design, is composed of small wooden blocks or strips that interlock to form intricate geometric patterns. This visually appealing flooring option exudes an air of sophistication and lends a sense of warmth to any space.
Importance of Proper Removal Techniques
When the time comes to remove or replace parkay flooring, it is crucial to employ the correct techniques to avoid causing irreparable damage to the wood subfloor underneath. Implementing the proper removal methods will ensure a smoother transition to the new flooring and minimize the likelihood of costly repairs.
Parkay Flooring Removal Do’s and Don’ts
A. What to Do
- Start by assessing the parkay flooring’s condition to determine the best approach for removal.
- Use specialized tools designed for parkay flooring removal, such as a flooring scraper, pry bar, and mallet.
- Work methodically and patiently to avoid causing unnecessary damage to the wood subfloor.
B. What to Avoid
- Do not attempt to remove parkay flooring with excessive force or inadequate tools, as this can lead to subfloor damage.
- Steer clear of moisture and water-based products that may cause the wood to warp or rot.
- Refrain from using heat guns or other extreme temperature methods, as they can cause the wood to scorch or the adhesive to release harmful fumes.
Preparing the Room for Parkay Flooring Removal
A. Removing Furniture and Belongings
Before commencing the parkay flooring removal process, it is essential to clear the room of all furniture and belongings. This step not only provides ample space to work but also prevents potential damage to items in the room.
B. Protecting Adjacent Surfaces
Take precautionary measures to protect adjacent surfaces, such as baseboards and walls, by covering them with painter’s tape or plastic sheeting. This ensures that they remain unscathed during the removal process.
C. Ventilation
Ensure proper ventilation in the workspace to avoid exposure to dust, debris, and potential fumes from the adhesive. Open windows and doors, or utilize fans to maintain a well-ventilated area.
Time-Saving Tips for Parkay Flooring Removal
A. Working in Sections
Dividing the room into smaller sections can make the removal process more manageable and efficient. Start at one corner of the room and work systematically, completing one section before moving on to the next.
B. Using the Right Tools
Investing in specialized tools designed for parkay flooring removal can significantly expedite the process. These tools include flooring scrapers, pry bars, and mallets, all of which are designed to make the task more efficient and less labor-intensive.
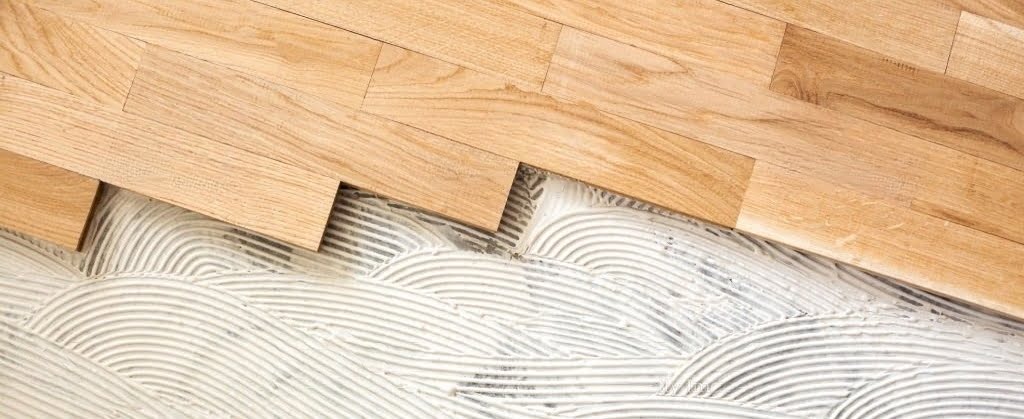
C. Efficiently Separating Flooring from Subfloor
When removing parkay flooring, focus on efficiently separating the flooring from the subfloor. This can be achieved by gently tapping the pry bar or flooring scraper with a mallet to loosen the adhesive or nails holding the flooring in place. Once the flooring is detached, carefully lift and remove it from the subfloor.
Common Issues During Parkay Flooring Removal
A. Damage to Subfloor
One prevalent issue during parkay flooring removal is damage to the wood subfloor. This can result from using excessive force or improper tools. To avoid this, work patiently and utilize the appropriate tools for the task.
B. Difficulty in Removing Adhesive or Nails
Parkay flooring is often secured to the subfloor with adhesive or nails, which can be challenging to remove. In cases where adhesive proves stubborn, consider using a solvent specifically designed for this purpose. For nails, leverage the pry bar or a nail puller to carefully extract them without causing further damage.
C. Broken or Cracked Flooring Pieces
During the removal process, it is common to encounter broken or cracked parkay flooring pieces. To minimize the occurrence of this issue, work cautiously and gently when separating the flooring from the subfloor. Keep in mind that some damage is inevitable, especially if the flooring is old or in poor condition.
Disposing of Removed Parkay Flooring
A. Recycling Options
Rather than discarding the removed parkay flooring, consider recycling or repurposing it for other projects. Some recycling centers and reclaimed wood specialists accept used wood flooring, which can be transformed into new materials or products.
B. Disposal Methods and Facilities
If recycling is not an option, ensure that the parkay flooring is disposed of responsibly. Contact local waste disposal facilities to inquire about their guidelines for disposing of wood flooring materials.
C. Waste Reduction Tips
To minimize waste during the removal process, work carefully and methodically. Salvaging as many parkay flooring pieces as possible not only reduces waste but also provides an opportunity for repurposing the material in future projects.
Cost to Remove Parkay Flooring
A. Factors Affecting Cost
The cost of parkay flooring removal can vary depending on several factors, including the room’s size, the flooring’s condition, and the presence of adhesive or nails. Additional factors, such as regional labor costs and waste disposal fees, may also impact the overall cost.
B. Price Range Estimates
Parkay flooring removal costs can range from $2 to $5 per square foot for DIY projects, while hiring professionals may cost between $4 and $10 per square foot. It is essential to obtain multiple estimates from local contractors to compare prices and services before making a decision.
C. Ways to Save Money
To save money on parkay flooring removal, consider tackling the project as a DIY endeavor. However, be prepared to invest in the necessary tools and allocate sufficient time to complete the task properly. Another cost-saving option is to shop around for the best waste disposal or recycling fees in your area.
DIY Parkay Flooring Removal vs Hiring Professionals
Pros and Cons of DIY
Pros:
- Potential cost savings
- Complete control over the project timeline
- Personal satisfaction from accomplishing the task
Cons:
- Time-consuming and labor-intensive
- Risk of damage to subfloor or surrounding surfaces
- Limited access to specialized tools and expertise
Pros and Cons of Hiring Professionals
Pros:
- Expertise and experience in parkay flooring removal
- Access to specialized tools and equipment
- Reduced risk of damage to subfloor or surrounding surfaces
Cons:
- Higher cost compared to DIY
- Less control over project timeline
- Potential difficulty in finding a reputable contractor
Factors to Consider When Making a Decision
When deciding between DIY and hiring professionals, consider factors such as budget, available time, personal experience, and the complexity of the project. Weigh the pros and cons of each option to determine the best course of action for your specific situation.
Safety Precautions When Removing Parkay Flooring
A. Personal Protective Equipment
Wearing appropriate personal protective equipment (PPE), such as gloves, safety goggles, and a dust mask, is crucial when removing parkay flooring to protect against injuries and exposure to dust, debris, or fumes.
B. Safe Handling of Tools and Materials
Handle all tools and materials with care to minimize the risk of accidents or injuries. Ensure that all tools are in good working condition and follow the manufacturer’s guidelines for proper usage.
C. Preventing Accidents and Injuries
Stay vigilant and maintain a clean, organized workspace to prevent accidents and injuries. Keep tools and materials organized and out of walkways to avoid tripping hazards. Take breaks as needed to prevent fatigue and maintain focus on the task at hand.
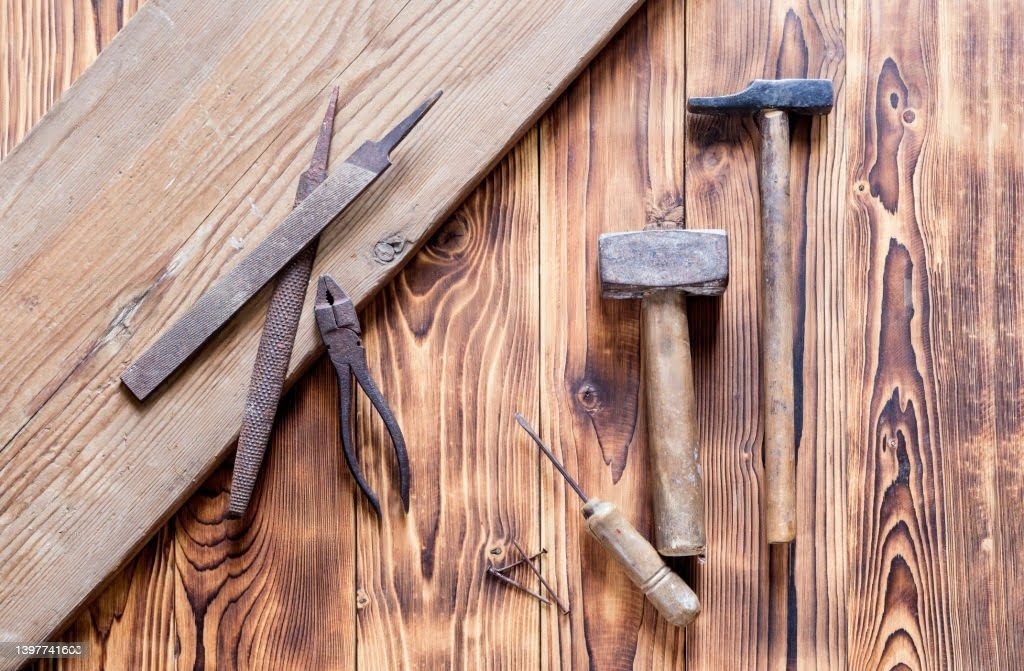
Tools for Removing Parkay Flooring
A. Essential Tools
Some essential tools for parkay flooring removal include:
- Flooring scraper or pry bar
- Mallet or hammer
- Utility knife
- Nail puller (if nails are present)
B. Optional or Specialized Tools
In addition to the essential tools, some optional or specialized tools that can make the removal process more efficient include:
- Oscillating multi-tool
- Solvent for adhesive removal
- Knee pads for comfort and protection
C. Tool Maintenance and Storage
Proper tool maintenance and storage are crucial to ensuring their longevity and effectiveness. Clean tools thoroughly after each use, removing any debris or adhesive residue. Store tools in a cool, dry place away from moisture and extreme temperatures to prevent rust or damage.
In Summary,
Removing parkay flooring from a wood subfloor can be a challenging but rewarding endeavor. By following the appropriate techniques, preparing the workspace, using the right tools, and observing safety precautions, homeowners can successfully complete this project while minimizing damage to the subfloor and surrounding surfaces.
Whether opting for a DIY approach or hiring professionals, approaching the parkay flooring removal project with patience, diligence, and proper planning will pave the way for a successful outcome. With the right tools, techniques, and mindset, any homeowner can conquer the task of removing parkay flooring and preparing for their new flooring installation.