How To Install Wooden Flooring On Concrete
Installing wooden flooring on concrete can be a daunting task, but with the right tools and knowledge, it can be…
Installing wooden flooring on concrete can be a daunting task, but with the right tools and knowledge, it can be a great DIY project. In this article, we will guide you through the process of how to install wooden flooring on concrete, step by step.
The key to a successful installation is proper preparation. Before you begin, it is important to ensure that your concrete subfloor is clean, level, and free from any cracks or moisture.
Choosing the right type of wooden flooring and measuring and cutting it correctly are also crucial steps in the process. Follow our guide and you will soon have a beautiful wooden floor that can transform the look and feel of your home.
Preparing the Concrete Surface
Before you can get started, it’s crucial to properly prep the concrete surface so that your new floors will look flawless.
The first step is to ensure that the concrete is clean and free of any debris. Sweep and vacuum the area thoroughly, and then use a damp mop to remove any remaining dust or dirt.
If there are any stains or spots on the concrete, use a concrete cleaner to remove them.
Next, it’s important to install a moisture barrier to prevent any moisture from seeping through the concrete and damaging your new floors.
There are several options for moisture barriers, including polyethylene sheeting or a liquid moisture barrier.
Polyethylene sheeting is easy to install and can be taped together to cover the entire surface.
A liquid moisture barrier is applied directly to the concrete and must be allowed to dry before installing the wooden floors.
Once the concrete surface is clean and the moisture barrier is installed, you’re ready to begin installing the wooden floors.
It’s important to follow the manufacturer’s instructions carefully and ensure that the wooden planks are acclimated to the room’s temperature and humidity before installation.
With proper preparation, your new wooden floors will look beautiful and last for years to come.
Choosing the Right Type of Wooden Flooring
When deciding on the type of wood flooring to use for installation on a concrete surface, there are several factors to consider. One of the most important factors is durability. Wooden flooring durability is crucial because it ensures that the flooring can withstand regular wear and tear without showing signs of damage.
Hardwood flooring is generally more durable than softwood flooring, and it’s important to choose a type of hardwood that is well-suited for high-traffic areas. Another factor to consider when choosing the right type of wooden flooring is style.
Wooden flooring comes in a variety of styles, including traditional, contemporary, and rustic. It’s important to choose a style that complements the overall design of your home. Additionally, some types of wooden flooring can be stained or painted to achieve a specific color or finish.
Cost is also an important consideration when choosing the right type of wooden flooring. Wooden flooring can be more expensive than other types of flooring, such as vinyl or carpet. However, it’s important to consider the long-term benefits of wooden flooring, such as its durability and the potential increase in home value.
When comparing costs, it’s important to consider the cost of installation, maintenance, and repairs over time. Ultimately, the right type of wooden flooring will depend on your specific needs, preferences, and budget.
Measuring and Cutting the Wooden Flooring
To ensure accurate measurements and proper cuts, you’ll need to follow these steps when preparing to lay your new hardwood flooring.
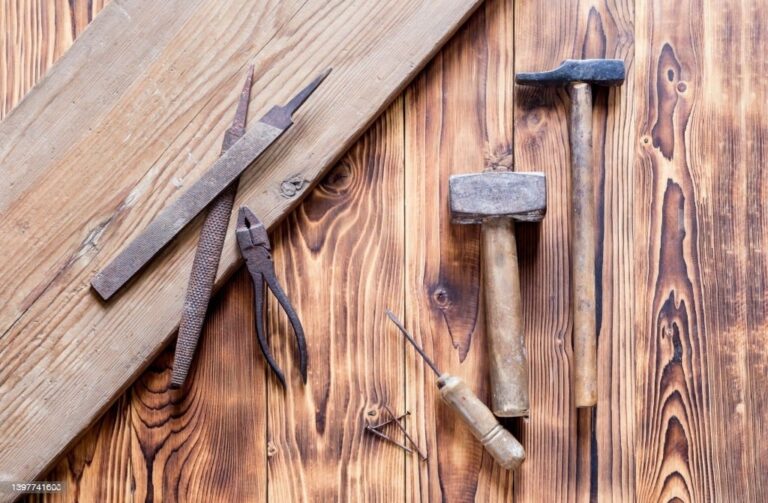
First, gather all necessary cutting tools, including a circular saw, jigsaw, and miter saw. Make sure to wear appropriate safety gear, such as eye and ear protection, gloves, and a dust mask.
Next, measure the length and width of the room and calculate the square footage needed for the flooring. Remember to purchase extra material in case of mistakes or future repairs.
Using a chalk line, mark the center of the room as a guide for laying the first row of flooring. Then, measure and cut the wooden planks to fit the edges and corners of the room. Use the circular saw for straight cuts and the jigsaw for curved cuts or around obstacles.
Finally, lay out the cut planks in the desired pattern and fit them together tightly. Use a miter saw to cut the end pieces at a 45-degree angle to create a seamless transition between planks. Make sure to leave a small gap between the flooring and walls to allow for expansion and contraction.
Double-check all measurements and cuts before securing the planks to the concrete using adhesive or nails.
Installing the Wooden Flooring
Transform your space with the warm and inviting look of hardwood by securing the planks in place using adhesive or nails.
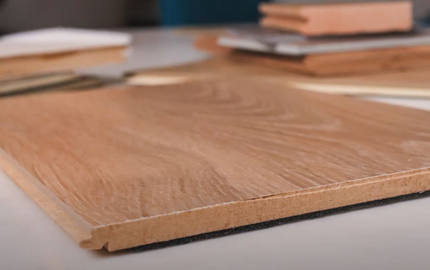
Before starting the installation process, make sure that all the planks are properly acclimatized to the room temperature and humidity levels. It’s also important to choose the right type of wooden flooring that suits your needs, such as solid hardwood, engineered wood, or laminate.
To begin installing the wooden flooring, start from the longest and straightest wall in the room. Use a chalk line to mark a straight line along the length of the wall, which will serve as a guide for the first row of planks.
Apply the adhesive or lay the underlayment as per the manufacturer’s instructions. Use a flooring nailer or a hammer and nails to secure the planks in place, ensuring that each plank is snugly fit against the neighboring one.
As you progress, use a tapping block and a hammer to gently tap the planks into place and ensure that there are no gaps between them. Cut the planks as needed using a circular saw or a jigsaw, making sure to leave a quarter-inch gap between the planks and the wall to allow for expansion.
Once the entire floor is installed, allow it to rest for at least 24 hours before walking on it. With proper installation and care, your new wooden flooring will transform your space into a warm and inviting haven.
Finishing Touches and Maintenance Tips
Don’t forget to properly maintain and care for your new hardwood floors to ensure their longevity and beauty.
Regular cleaning is essential to keeping your floors looking their best. You can use a dry mop or vacuum to remove dirt and debris, and a damp mop with a mild cleaner to remove any stubborn stains. Avoid using harsh chemicals or abrasive pads, as these can damage the finish and leave scratches.
When it comes to color options, hardwood floors offer a wide range of choices. You can choose from natural wood colors such as oak, maple, or cherry, or opt for a stained or painted finish to match your decor.
Keep in mind that certain wood species may be more prone to fading or discoloration over time, so it’s important to choose a color that will maintain its vibrancy for years to come.
To maintain the beauty of your hardwood floors, it’s important to take proper care of them. Avoid wearing high heels or shoes with sharp edges that can scratch the surface, and use furniture pads to prevent scratches and scuffs.
You should also avoid exposing your floors to excessive moisture, as this can cause warping or cupping.
With proper maintenance and care, your hardwood floors will provide years of beauty and durability.
Conclusion
Overall, installing wooden flooring on concrete requires careful preparation, measurement, and installation. It’s important to begin by preparing the concrete surface thoroughly, removing any debris or unevenness.
Next, choose the right type of wooden flooring for your space, taking into account factors such as durability and moisture resistance. Once you’ve measured and cut your wooden flooring to fit your space, it’s time to begin installation.
This process may require some patience and attention to detail, but with the right tools and techniques, you can achieve a beautiful and long-lasting wooden floor. Finally, be sure to perform regular maintenance on your floor, such as sweeping and mopping, to keep it looking its best.
With these tips in mind, you can transform your concrete space into a warm and inviting wooden oasis.