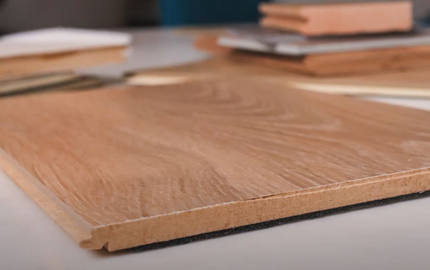
How To Lay Wood Look Tile
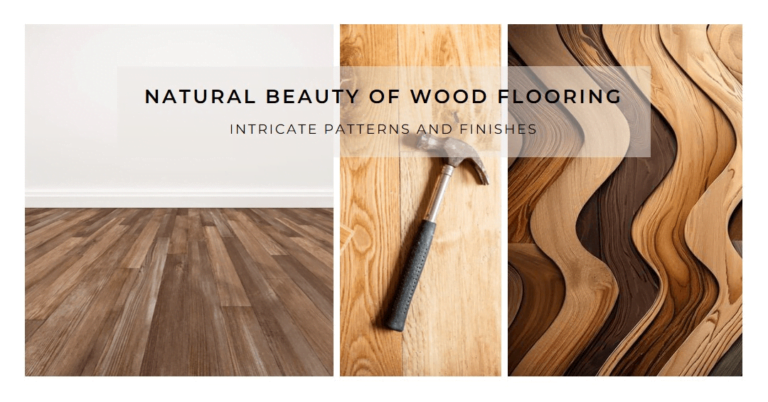
Are you looking for a flooring option that has the warmth and beauty of wood but with the durability and…
Are you looking for a flooring option that has the warmth and beauty of wood but with the durability and low maintenance of tile? Look no further than wood look tile!
As a professional tile installer, I have laid my fair share of wood look tile and I am excited to share my knowledge with you on how to lay this stunning flooring option.
Before we get started, it is important to note that laying tile can be a time-consuming and detailed process. However, with the right tools, materials, and guidance, you can achieve a beautiful and long-lasting wood look tile floor.
So, let’s dive in and get started on the steps for preparing, measuring, cutting, laying, grouting, sealing, and maintaining your wood look tile flooring.
Preparing the Surface for Installation
Before you can start installing wood look tile, you’ll need to prep the surface by cleaning and leveling it. Surface preparation is key to the success of your project.
The first step is to remove any existing flooring material and thoroughly clean the subfloor. Make sure to remove any debris, dirt, or adhesives that could prevent the tile from adhering properly.
Once the subfloor is clean, it’s time to level it. A level subfloor is essential to prevent your tiles from cracking or shifting over time. You can use a self-leveling compound or floor patch to even out any low spots or uneven areas. This will ensure a smooth and flat surface for the tile installation.
After the subfloor is level, you can prime it with a latex primer to ensure good adhesion between the underlayment and the tile.
Another important consideration for surface preparation is selecting the right underlayment material. The underlayment is the layer between the subfloor and the tile that provides stability, durability, and moisture resistance.
The type of underlayment you choose will depend on the type of flooring you’re installing, the subfloor material, and the condition of the subfloor. Options include cement board, plywood, and membrane systems. Make sure to follow the manufacturer’s instructions for installation and use the appropriate fasteners and adhesives.
By properly preparing the surface for installation, you’ll ensure a long-lasting, beautiful wood look tile floor. Take the time to level and prime the subfloor, and select the right underlayment material.
With these steps completed, you’ll be ready to start laying your new tile floor.
Measuring and Cutting the Tiles
Let’s get started by measuring and cutting the tiles to fit your space perfectly! Before we begin, it’s important to consider the tile layout and pattern options.
You can choose to lay the tiles in a straight pattern for a traditional look or in a diagonal pattern for a more modern feel. Once you’ve decided on your pattern, measure the floor space to determine how many tiles you will need.
Next, it’s time to cut the tiles to fit the edges of the room. Measure the space where the tile needs to be cut, and transfer the measurement onto the tile with a pencil.
Using a tile cutter or wet saw, carefully cut the tile along the marked line. Don’t forget to wear protective gear, such as safety glasses and gloves, while cutting the tiles.
After cutting the tiles, dry fit them to ensure that they fit properly and the pattern looks correct. If necessary, make any adjustments before applying the adhesive.
Remember to stagger the tiles when laying them, so that the seams do not line up. With careful measuring and cutting, your wood look tile will fit your space perfectly and look beautiful for years to come.
Applying Adhesive and Laying the Tiles
Now it’s time to get your hands dirty and start applying the adhesive to your floor. Make sure you choose the right trowel for the job, as it’ll affect the proper adhesive coverage.
A notched trowel is the best option for spreading the adhesive evenly and consistently. Apply the adhesive in a small area at a time, using the notched trowel to spread it over the surface. Make sure the adhesive is evenly and smoothly spread to avoid any bumps or gaps.
Once you’ve applied the adhesive, it’s time to start laying the tiles. Begin by laying the first tile at the center of the room and work your way outwards. Use spacers to ensure that the tiles are evenly spaced and leave room for grout.
Continue laying the tiles, making sure they are level with each other. Once you’ve finished laying all the tiles, let the adhesive dry for at least 24 hours before grouting.
Grouting and Sealing the Tiles
After the adhesive has dried completely for at least 24 hours, it’s time to grout and seal the tiles to ensure their longevity and durability.
Different grouting methods can be used depending on the look you want to achieve. A sanded grout is ideal for larger tile spaces, while an unsanded grout is best for smaller spaces with narrow grout lines. It’s important to choose the right type of grout color that matches the wood look tile to create a cohesive and natural look.
Before grouting, it’s recommended to clean the tiles first to remove any excess adhesive and dust. Mixing the grout according to the manufacturer’s instructions, use a rubber float to apply the grout to the tile surface at a 45-degree angle. Make sure to work in small sections and clean excess grout off the tiles immediately using a damp sponge.
Allow the grout to dry for a day or two before buffing away any remaining haze with a dry cloth.
To protect the wood look tile from moisture and stains, sealing the surface is highly recommended. Choose the right type of sealant depending on the type of tile used, and follow the manufacturer’s instructions for application. Apply the sealant using a paint brush or roller, making sure to cover the entire surface and edges.
Allow the sealant to dry completely before using the tiled area. With proper care and maintenance, your wood look tile will last for years to come.
Maintaining and Cleaning Wood Look Tile Flooring
Maintaining and cleaning your new wood look tile flooring can be a breeze with the proper techniques and products, ensuring its longevity and continued beauty.
One way to prevent scratches is to place felt pads on the bottom of furniture legs to avoid any potential damage when moving them around. It’s also important to avoid dragging heavy objects across the floor, as this can cause scratches or other damage.
Choosing the right cleaning products is crucial when it comes to keeping your wood look tile flooring looking its best. Avoid using harsh chemicals or abrasive cleaners that can damage the finish of the tiles. Instead, opt for a pH-neutral cleaner that is specifically designed for use on tile flooring.
Regular sweeping and mopping, using a soft-bristled broom or a microfiber mop, can help keep your floors clean and free of dirt and debris.
In addition to regular cleaning, it’s important to have your wood look tile flooring professionally cleaned and sealed every few years. This will help protect the surface of the tiles from wear and tear, as well as prevent any potential damage from spills or other accidents.
By following these simple maintenance and cleaning tips, you can help ensure that your wood look tile flooring stays beautiful and functional for years to come.
Conclusion
Overall, laying wood look tile can be a rewarding and cost-effective way to achieve the look of hardwood flooring without the maintenance and expense. However, it’s important to properly prepare the surface, measure and cut the tiles accurately, and follow the adhesive and grouting instructions closely.
Taking the time to properly install and maintain your wood look tile flooring can result in a beautiful and durable finished product that’ll last for years to come.
Remember to regularly clean and maintain your wood look tile flooring to keep it looking its best. Sweep or vacuum regularly to remove dirt and debris, and use a damp mop with a mild cleaner to clean up any spills or stains.
Additionally, make sure to reseal the grout every few years to keep it looking fresh and prevent moisture damage.
With these tips and tricks, you can successfully lay wood look tile and enjoy the look and feel of hardwood flooring in your home.