How To Lay Plywood Flooring
Are you looking to update your home’s flooring but don’t want to break the bank? Plywood flooring may be the…
Are you looking to update your home’s flooring but don’t want to break the bank? Plywood flooring may be the solution you’ve been searching for.
Not only is it affordable, but it’s also easy to install and can give your space a unique, rustic look. In this article, we’ll walk you through the steps of laying plywood flooring, from choosing the right type of plywood to finishing touches and maintenance.
Whether you’re a seasoned DIYer or a beginner, we’ll provide you with the knowledge and confidence to tackle this project and transform your space. So let’s get started!
Choosing the Right Plywood
You gotta pick the right kind of wood for this job, buddy. Look for something sturdy and durable that’ll fit your style.
When it comes to plywood flooring, you’ll want to pay attention to the grades and thicknesses available. Plywood grades range from A to D, with A being the highest quality and D being the lowest. It’s recommended that you go for a higher grade plywood, such as A or B, for flooring projects.
Another important factor to consider is the thickness of the plywood. The thickness you choose will depend on the type of subfloor you’re working with and the overall durability you’re looking for. Standard plywood thicknesses range from 1/4 inch to 3/4 inch.
Thicker plywood is typically more durable and can withstand heavy foot traffic, but may also be more difficult to install. Thinner plywood, on the other hand, is easier to work with but may not hold up as well over time.
Ultimately, the choice of plywood will depend on your specific project needs and preferences. It’s important to do your research and choose a high-quality plywood that fits your budget and style.
With the right plywood, your flooring project is sure to be a success.
Preparing Your Subfloor
Before getting started, make sure you’ve got a sturdy and level foundation to work with. This means that you should inspect your subfloor thoroughly and make any necessary repairs. You can’t lay plywood flooring over a subfloor that’s uneven, damaged, or rotting. If your subfloor is in bad shape, you’ll need to replace it before you can proceed.
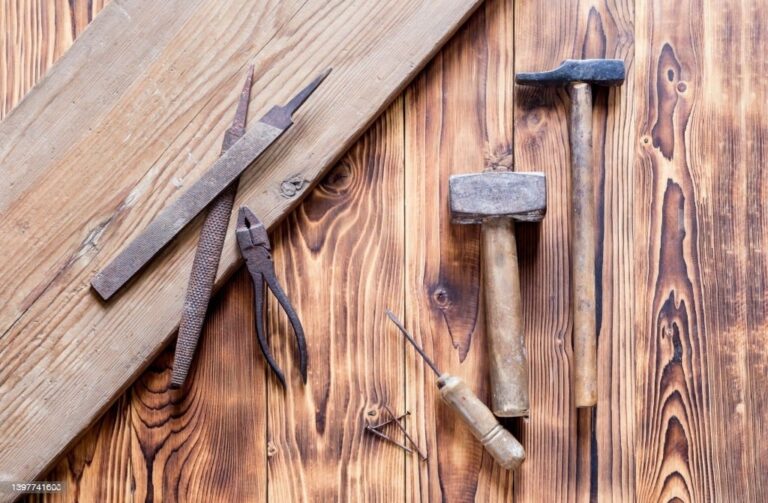
To prepare your subfloor, you’ll need some basic tools such as a hammer, pry bar, circular saw, and measuring tape.
You’ll also need to remove any existing flooring and clean the subfloor thoroughly. It’s important to note that common mistakes to avoid include not removing old flooring, not cleaning the subfloor properly, and not measuring accurately.
Any of these mistakes can cause problems down the line, such as gaps or unevenness in your finished floor. Once you’ve prepared your subfloor, you’re ready to start laying your plywood flooring.
Remember to always start at the longest wall and work your way across the room. You’ll want to stagger your plywood sheets to create a stronger and more stable floor. When you’ve finished laying your plywood, you can sand and finish it to your desired look.
With proper preparation and attention to detail, you can lay plywood flooring that’s both beautiful and long-lasting.
Measuring and Cutting Your Plywood
Measuring and cutting your plywood accurately is crucial for achieving a seamless and professional-looking finished product. Before starting, make sure to double-check your subfloor’s measurements and choose the right plywood thickness.
Plywood comes in various thicknesses, ranging from 1/4 inch to 3/4 inch. The thickness you need will depend on the subfloor’s condition and the type of flooring you plan to install.
When it comes to cutting plywood, you have a few tools to choose from. A circular saw is the most common tool used to cut plywood, but it can be challenging to make precise cuts without a guide. A jigsaw can also be used to cut plywood, but it is better suited for curved cuts than straight ones. A table saw is a great option if you have a lot of plywood to cut and want to make straight, precise cuts. Whatever tool you choose, make sure to take safety precautions, such as wearing eye and ear protection.
Before cutting your plywood, make sure to measure and mark it accurately. Measure twice to avoid mistakes and ensure you have enough plywood to cover the entire subfloor. Be sure to account for any corners or angles in the room.
Once you have your measurements, use a straight edge to mark the plywood where you need to cut it. Double-check your markings before making any cuts, and make sure your cutting tool is set up correctly. With these steps, you’ll be ready to cut your plywood and move on to the next step of installing your new flooring.
Installing Your Plywood Flooring
Now that you’ve got your plywood cut to size, it’s time to get started installing your new, beautiful floors.
Before you begin, make sure you have all the necessary tools: a drill, screws, a saw, a measuring tape, a pencil, and a level. Having all of these tools on hand will make the installation process much easier and more efficient.
Once you have your tools ready, you can start laying down your plywood. Here are some steps to follow for a successful installation:
-
Start in one corner of the room and lay down your first sheet of plywood. Make sure it’s flush against the wall and use your level to ensure it’s even.
-
Screw the plywood into place, starting at the corners and working your way towards the center. Use at least two screws per joist.
-
Continue laying down more sheets of plywood, making sure to stagger the seams. This will help ensure a strong and stable floor.
-
If you come across any obstacles, such as pipes or vents, measure and mark where you need to cut the plywood. Use your saw to make the necessary cuts and then lay the plywood back down.
One common mistake that people make when installing plywood flooring is not properly securing the sheets to the joists. This can lead to squeaky floors and an unstable surface. Make sure you use enough screws and that they are placed at the right intervals.
In conclusion, installing plywood flooring can be a straightforward process if you’ve got the right tools and follow the proper steps. Take your time, measure carefully, and make sure you secure the plywood to the joists. The end result will be a beautiful and durable floor that you can enjoy for years to come.
Finishing Touches and Maintenance
You’re almost there! Now it’s time to add those final touches to your beautiful new floors and keep them looking great for years to come.
One of the first things you may want to consider is the staining options available for your plywood flooring. Depending on the look you’re going for, you may want to stain your floors a darker color to add warmth or a lighter color to brighten up your space. Make sure to do your research and choose a stain that will complement your decor.
Once your floors are stained and dried, it’s important to take care of them properly to ensure they last. One of the best things you can do is regularly sweep or vacuum your floors to prevent dirt and debris from accumulating and scratching the surface. You may also want to invest in a microfiber mop for easy cleaning.
When it comes to spills, make sure to clean them up quickly to avoid staining or warping your floors. If you have pets, be sure to keep their nails trimmed to prevent scratching.
In addition to regular cleaning, there are a few maintenance tasks you’ll want to keep in mind. Every few years, you may need to sand and refinish your floors to keep them looking their best. You may also want to add a coat of polyurethane to protect your floors from scratches and wear.
With proper care and maintenance, your plywood flooring can look beautiful for years to come.
Conclusion
And there you have it, a brand new plywood floor! It may have taken some time and effort, but the end result is worth it.
Remember to choose the right plywood for your needs, prepare your subfloor properly, measure and cut your plywood with precision, and install it carefully. And don’t forget the finishing touches, like sanding and sealing, to ensure a long-lasting and beautiful floor.
Maintaining your plywood floor is simple. Sweep or vacuum it regularly to prevent dirt and debris from scratching the surface. Wipe up spills immediately to prevent water damage.
And every few years, give it a fresh coat of sealant to keep it looking like new. With proper care, your plywood floor can last for years to come.