How To Make Your Own Hardwood Flooring
Have you ever walked into a home with stunning hardwood floors and wondered if you could make your own? The…
Have you ever walked into a home with stunning hardwood floors and wondered if you could make your own? The good news is, you can!
Making your own hardwood flooring is a challenging but rewarding project that allows you to customize the look of your floors to fit your style and needs.
Before diving into this project, it’s important to understand that making your own hardwood flooring requires a significant amount of time, effort, and skill. However, with the right tools and knowledge, you can create a beautiful and durable flooring option for your home.
In this article, we’ll guide you through the process of selecting the right wood species, preparing the wood for flooring, cutting and milling the boards, finishing and staining the flooring, and finally, installing your homemade hardwood floors.
So, let’s get started!
Selecting the Right Wood Species
Now you’re ready to choose the perfect wood for your floors – get excited about the endless possibilities!
When selecting the right wood species, it’s essential to consider the pros and cons of each type. Oak is a popular choice, as it’s durable and readily available, but it can be costly compared to other options. Maple, on the other hand, is a more affordable option that boasts a light, bright appearance. Other common choices include cherry, walnut, and mahogany, which are known for their rich colors and striking grain patterns.
Wood species comparisons are crucial, but it’s also essential to consider sustainability. Some species are more environmentally friendly than others, and you’ll want to choose a wood that is responsibly sourced.
For example, bamboo flooring is an eco-friendly option as it’s fast-growing and regenerates quickly. Additionally, reclaimed wood is a sustainable choice as it repurposes old wood that would otherwise end up in a landfill.
When selecting your wood species, take the time to research and compare different options. Consider the durability, appearance, and sustainability of each type to make an informed decision.
Remember that your hardwood floors will be a long-term investment, so choose a wood that you’ll be happy with for years to come.
Preparing the Wood for Flooring
To prep the wood for flooring, you’ll need to sand the boards and remove any imperfections. It’s important to check the wood moisture content before you begin.
If the wood is too wet, it can lead to cupping, warping, and other issues down the line. You can use a moisture meter to determine the level of moisture in the wood. Ideally, you want the wood to have a moisture content of between 6% and 9%.
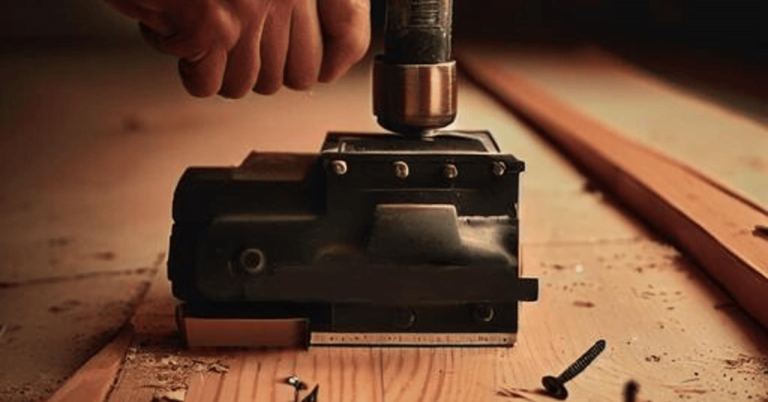
Once you’ve determined that the wood is dry enough to use, you can begin sanding. Sanding is a critical step in the process of preparing the wood for flooring. It helps to remove any rough spots, scratches, and imperfections that may be present.
There are a variety of sanding techniques that you can use, depending on the type of wood you’re working with and the level of imperfections you need to remove. For example, you might start with a coarse grit sandpaper and work your way up to a finer grit as you go.
After you’ve sanded the wood, you’ll need to inspect it closely for any remaining imperfections. This is your chance to make any final adjustments before you begin installing the flooring. Look for gaps, cracks, or other issues that need to be addressed.
If you find any areas that need attention, you can use wood filler or putty to fill them in. Once you’re satisfied with the condition of the wood, you’re ready to move on to the next step in the process.
Cutting and Milling the Boards
You’ll need to cut and mill the boards to prepare them for installation, ensuring that they fit together seamlessly and create a beautiful finished product. Here’s how:
-
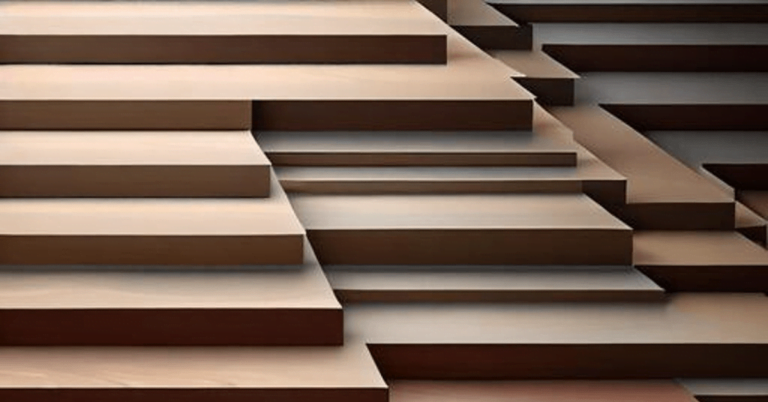
Determine the board thickness you want for your flooring. This will depend on the type of wood you’re using and the look you want to achieve. Once you know the thickness, set your table saw to that measurement and cut each board to the desired width.
-
Choose the right saw blade for the job. A carbide-tipped blade with a high number of teeth is ideal for cutting hardwood flooring. This type of blade will give you a smooth cut and minimize splintering.
-
Mill the boards to the correct dimensions. This involves running each board through a planer to smooth out any rough spots and make it a consistent thickness. Then, run the boards through a jointer to ensure that the edges are straight and will fit together tightly when installed.
Cutting and milling the boards is a critical step in creating your own hardwood flooring. Take your time and be precise to ensure that the finished product is beautiful and durable.
With the right tools and techniques, you can create a floor that you’ll be proud of for years to come.
Finishing and Staining the Flooring
Once the boards are cut and milled to perfection, it’s time to finish and stain the flooring to achieve the desired look for your space.
There are various DIY staining techniques you can use, but it’s important to choose a method that suits your preferences and skill level. One option is to use a natural oil-based stain, such as linseed oil or tung oil, which not only adds color but also protects the wood. Another eco-friendly finish option is to use a water-based finish, which is low in VOC (volatile organic compounds) and quick-drying.
Before applying any stain or finish, it’s crucial to sand the boards to ensure a smooth surface. Start with a coarse grit sandpaper and progress to a finer grit until the wood is completely smooth and free of any scratches or imperfections.
After sanding, clean the boards thoroughly to remove any dust or debris. Once the boards are clean and dry, you can begin applying your chosen stain or finish according to the manufacturer’s instructions.
When applying the stain or finish, be sure to work in a well-ventilated area and use protective gear such as gloves and a respirator. Apply the stain or finish evenly with a brush or rag, and allow it to dry completely between coats.
Once you’ve achieved the desired color and finish, allow the boards to dry for at least 24 hours before installing them. With the right techniques and materials, you can create beautiful and durable hardwood flooring that adds warmth and character to any space.
Installing Your Homemade Hardwood Floors
Installing your homemade hardwood floors can be a challenging yet rewarding task. It requires precision, patience, and attention to detail to ensure a seamless and long-lasting finish.
Before you start, it’s important to have all the necessary floor installation tools on hand. These may include a nail gun, saw, drill, hammer, level, tape measure, and spacers. It’s also important to ensure that the subfloor is clean, level, and dry before you begin.
Once you have your tools and subfloor ready, it’s time to start the installation process. Begin by laying down your first row of boards, making sure they’re straight and properly spaced. Use your nail gun to secure the boards to the subfloor, placing nails about every 6-8 inches.
As you continue to install each row, use spacers to maintain proper spacing between the boards. After installing all the boards, it’s time to add the finishing touches. Fill any gaps or holes with wood filler and sand down any rough spots.
Finally, apply a protective finish to the floor to ensure it stays looking beautiful for years to come. Proper flooring maintenance is also important to ensure the longevity of your new hardwood floors. This may include regular cleaning, avoiding excessive moisture, and protecting the floors from scratches and dents.
Conclusion
So there you have it, folks. Making your own hardwood flooring isn’t an easy task, but it’s definitely fulfilling.
By following the steps outlined in this article, you’ll be able to select the right wood species, prepare the wood for flooring, cut and mill the boards, finish and stain the flooring, and finally install your homemade hardwood floors.
Remember, the key to a successful DIY hardwood flooring project is in the preparation and attention to detail. Take your time, follow the steps carefully, and don’t be afraid to ask for help when needed.
With patience and perseverance, you can create a beautiful and unique hardwood floor that’ll be the envy of your friends and family.
Good luck and happy woodworking!