How To Successfully Remove Old Black Urine Stains From Hardwood Floors
Tackle old black urine stains on hardwood floors with our comprehensive guide. Learn to identify, clean, and maintain your floors for lasting beauty.
Have you ever experienced the frustration of trying to remove old black urine stains from your hardwood floors? It’s a common problem that many homeowners face, but with the right tools and techniques, it’s possible to restore your floors to their original beauty.
In this article, we’ll guide you through the steps of:
- identifying the stain
- gathering the necessary tools and materials
- preparing the floor for stain removal
- removing the urine stain
- finishing and maintaining your hardwood floors.
First, it’s important to identify the type of stain you’re dealing with. Black urine stains are typically caused by pet urine that has been left on the floor for an extended period of time.
Over time, the urine can penetrate the wood and cause a dark, black stain that is difficult to remove. However, with the right approach, it is possible to remove these stains and restore your floors to their original beauty. So, let’s get started!
Identifying the Stain
You may have noticed a discoloration on your beautiful wooden surface, but fear not, identifying the culprit behind the stain is the first step to restoring your floor’s natural charm.
Urine stains are often the cause of discoloration on hardwood floors. Pet urine and human urine can both leave an unsightly and unpleasant mark on your floors. The longer the urine is left on the floor, the more difficult it is to remove the stain.
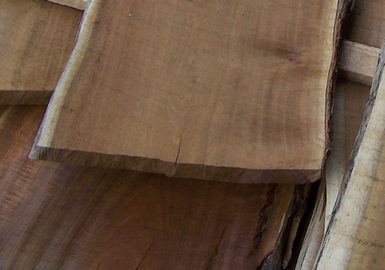
Different types of hardwood floors may react differently to urine stains. Solid hardwood floors are more resistant to stains and easier to clean. On the other hand, engineered hardwood floors may have a layer of veneer on top, which can be more prone to discoloration. Additionally, the type of wood used can also affect the floor’s reaction to urine stains.
Oak, for example, is known for its resistance to stains, while pine is more porous and may absorb stains more easily. When identifying the stain, it’s important to note the color and location of the stain. Black urine stains are often the result of a prolonged exposure to urine, and may require more intensive cleaning methods.
It’s also important to determine if the stain is on the surface or has penetrated into the wood. This will affect the cleaning method used to remove the stain. By accurately identifying the stain, you can ensure that you use the appropriate method to restore your hardwood floors to their former glory.
Gathering the Necessary Tools and Materials
Gathering the tools and materials needed will make the task of restoring your beautiful hardwood floors a breeze. Before you begin, it’s important to decide whether you want to tackle the task yourself or hire professional services.
If you opt for DIY alternatives, it’s crucial to have all the necessary tools and materials on hand before you start. Here are some items you’ll need:
- Gloves and safety goggles to protect your skin and eyes
- White vinegar, hydrogen peroxide, or baking soda to remove the stain
- A soft-bristled brush or rag to apply the cleaning solution
- A microfiber cloth or mop to dry the area after cleaning
In addition to these items, you may want to consider renting a floor sander or hiring a professional to sand and refinish the hardwood floors after the stain has been removed. This will give your floors a beautiful, polished look that will last for years to come.
Before you start the process, be sure to read up on the specific cleaning solution and technique that works best for your type of hardwood floors. Different types of wood may require different approaches, and using the wrong cleaning solution or technique can cause additional damage to your floors.
With the right tools and materials, you’ll be able to remove those old black urine stains from your hardwood floors and restore them to their original beauty.
Preparing the Floor for Stain Removal
Before diving into the process of restoring your beautiful hardwood floors, it’s important to properly prepare the area for the upcoming stain removal.
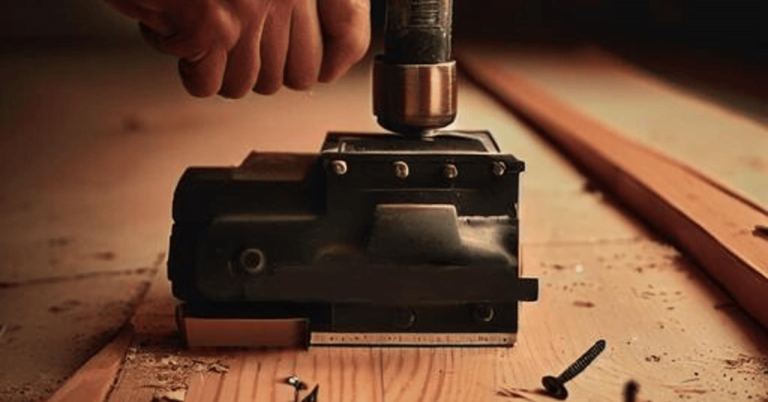
First, you should sand the area around the old black urine stains. Sanding techniques are essential to remove the top layer of the hardwood floors, which may have been damaged by the urine stains. You can use a sanding machine or sandpaper to sand the area. Remember to follow the direction of the grain to prevent damaging the wood.
After sanding, it’s crucial to apply a stain blocking primer to the area. A stain blocking primer will prevent any remaining urine stains from seeping through the wood, which can cause further damage. Choose a high-quality primer that’s specifically designed for hardwood floors.
Apply the primer in a thin, even layer using a brush or roller. Let it dry for at least 24 hours before proceeding with the stain removal process.
Once you’ve sanded and primed the area, you’re ready to start removing the old black urine stains from your hardwood floors. With the proper preparation, this process will be much easier and more effective. Remember to wear protective gear, such as gloves and a mask, throughout the entire process to prevent any harm to yourself.
By following these steps, you’ll be able to restore the beauty of your hardwood floors and enjoy them for years to come.
Removing the Urine Stain
Let’s get started with tackling those pesky urine stains and restoring your hardwood floors to their former glory!
Removing the urine stain from your hardwood floors requires a combination of bleaching solution and sanding process. First, you need to apply the bleaching solution to the affected area. Make sure to wear gloves and protective eyewear when handling the solution.
Apply the solution generously on the stain and let it sit for a few minutes. You can use a brush to scrub the area, but be careful not to damage the wood. After a few minutes, wipe the area with a clean, damp cloth and let it dry completely. If the stain is still visible, you may need to repeat the process once or twice.
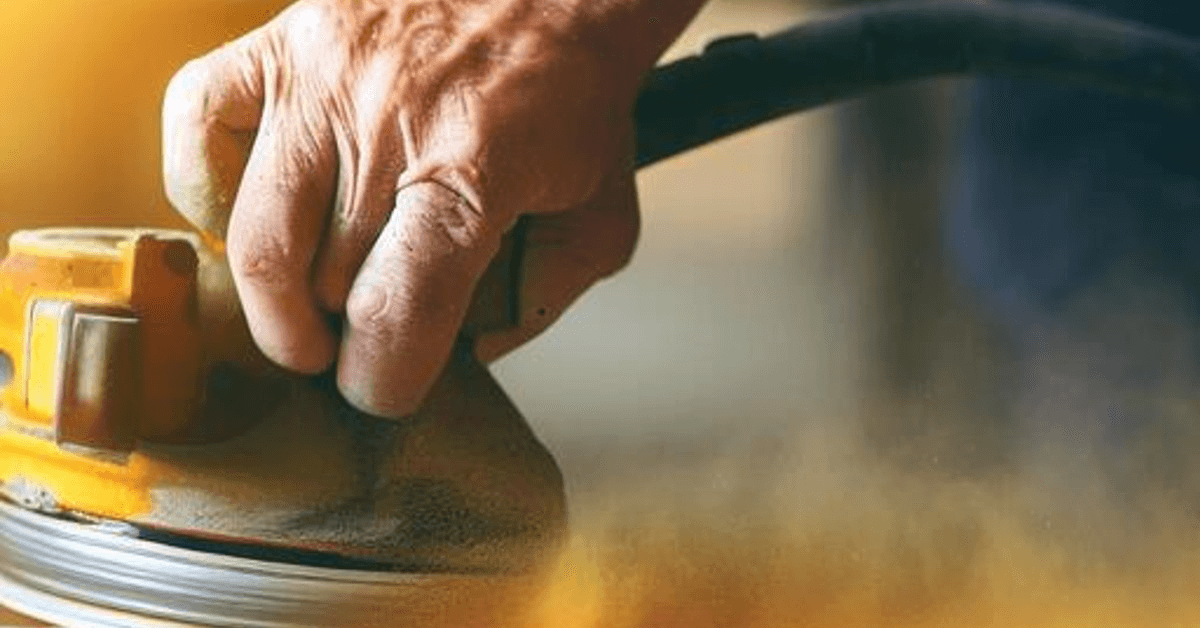
Once the stain is removed, it’s time to sand the area. Start with a coarse grit sandpaper and gradually work your way to a finer grit. Sand the area until it’s smooth and even. Make sure to sand the surrounding areas as well to ensure evenness.
After sanding, clean the area thoroughly with a damp cloth and let it dry completely before applying any finish.
With these steps, your hardwood floors will be looking as good as new in no time!
Finishing and Maintaining Your Hardwood Floors
To ensure the longevity and beauty of your hardwood floors, it’s vital that you regularly clean and maintain them with appropriate products and techniques. Here are some tips on how to finish and maintain your hardwood floors:
- Use only cleaning products that are specially designed for hardwood floors. Some cleaning products can damage the finish or even the wood itself. Avoid using water-based cleaners or anything containing vinegar, ammonia, or oil, as they can cause discoloration and damage to the wood.
- Refinishing options can restore the luster of your hardwood floors. If your floors are looking dull or scratched, consider having them professionally refinished. This process involves sanding down the top layer of the wood and applying a new finish. Not only will this make your floors look new again, but it can also help protect them from future damage.
- Regularly sweep and vacuum your hardwood floors to remove dirt and debris. Use a soft-bristled brush attachment to avoid scratches. You can also use a dry mop or microfiber cloth to pick up any dust or small particles that may have been missed.
- Avoid walking on your hardwood floors with shoes or high heels, as these can cause scratches and damage to the finish. Place mats or rugs in high-traffic areas to help protect your floors from wear and tear.
By following these simple tips, you can keep your hardwood floors looking beautiful for years to come. Regular maintenance and cleaning, along with professional refinishing when necessary, will help ensure that your floors remain a stunning feature of your home.
Conclusion
Well, that’s it! You now know how to remove old black urine stains from your hardwood floors.
It may seem like a daunting task at first, but with the right tools and materials, proper preparation, and careful execution, you can restore your floors to their former glory.
Remember, prevention is key when it comes to hardwood floors. Be sure to clean up any spills or accidents immediately to avoid stains and damage. And always use the appropriate cleaning products for your specific type of flooring.
With a little bit of effort and care, your hardwood floors can last for generations to come. Happy cleaning!