Master the Art of Sealing Vinyl Flooring: A Comprehensive Guide
Unlock the full potential of your vinyl flooring with our expert sealing guide. Learn how to protect your floor from damage, extend its lifespan, and keep it looking its best for years to come.
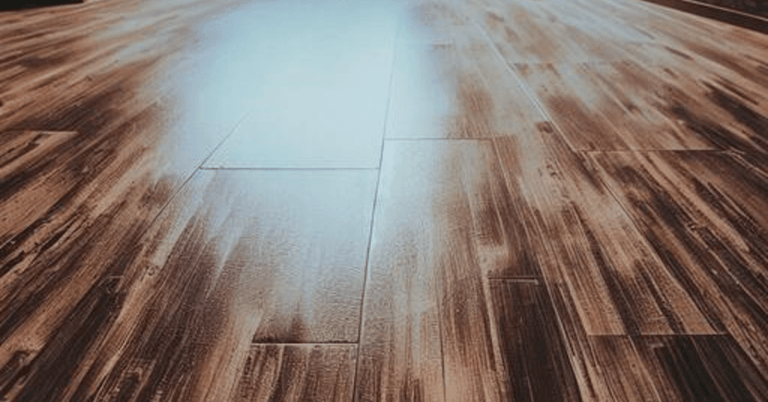
Vinyl flooring, a popular choice for many homeowners, offers a balance of style, durability, and affordability. However, to maintain its luster and extend its lifespan, sealing is a crucial step. In this guide, we’ll walk you through the process of sealing vinyl flooring, ensuring you get the best results possible.
Key Takeaways
- Sealing vinyl flooring enhances its durability, protects it from damage, and extends its lifespan.
- Proper preparation, including thorough cleaning and repairing any damages, is crucial for a successful sealing process.
- Sealing the seams of your vinyl flooring prevents moisture from seeping underneath, protecting your floor from potential water damage.
- Regular maintenance, including cleaning and periodic resealing, is essential to keep your sealed vinyl floor looking its best and lasting as long as possible.
Understanding Vinyl Flooring
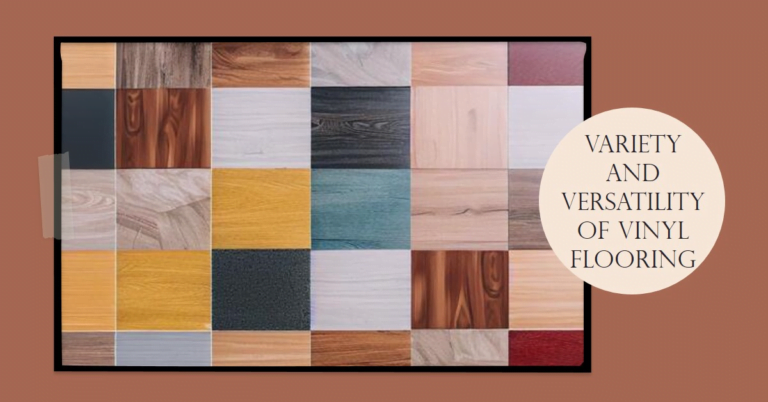
Vinyl flooring has come a long way since its inception. Once considered a budget-friendly alternative to traditional flooring options, it has evolved into a sought-after solution for its versatility and aesthetic appeal. At Okayflooring, we review a wide range of vinyl flooring options, including luxury vinyl tile, each with unique characteristics to suit different needs and preferences.
Sealing vinyl flooring is a process that enhances its durability and resistance to damage. It provides a protective layer that helps prevent scratches, stains, and water damage, ensuring your floor maintains its pristine condition for longer. But before we delve into the sealing process, it’s essential to understand why it’s necessary.
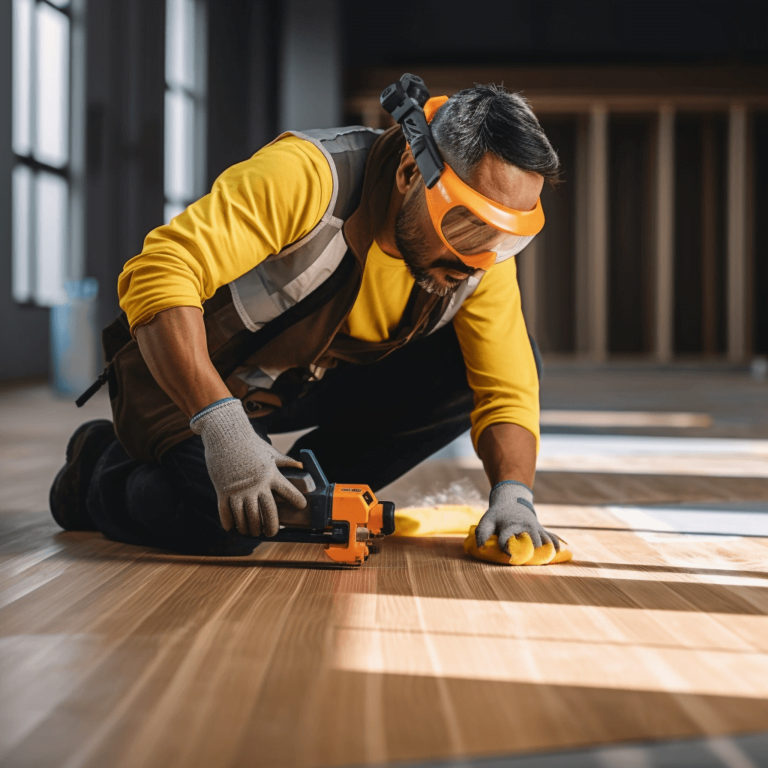
Pre-Sealing Preparations
Before you start sealing your vinyl flooring, you need to gather the necessary tools and materials. These may include:
- A vinyl floor sealer
- A mop or cloth for cleaning
- A paint roller for applying the sealer
It’s also crucial to ensure your safety during the process. Wear protective clothing, and make sure the room is well-ventilated to avoid inhaling any harmful fumes from the sealer.
Preparing the floor is a critical step in the sealing process. Start by giving your vinyl floor a thorough cleaning. Any dirt or debris left on the floor can get trapped under the sealer, leading to an uneven finish. Our guide on vinyl flooring cleaning and maintenance provides detailed instructions on how to clean your vinyl floor effectively.
Once the floor is clean, check for any damages. If you find any scratches or tears, you may need to repair them before sealing the floor. Our article on how to fix and repair vinyl flooring offers practical tips on addressing common vinyl flooring issues.
Step-by-Step Guide to Sealing Vinyl Flooring
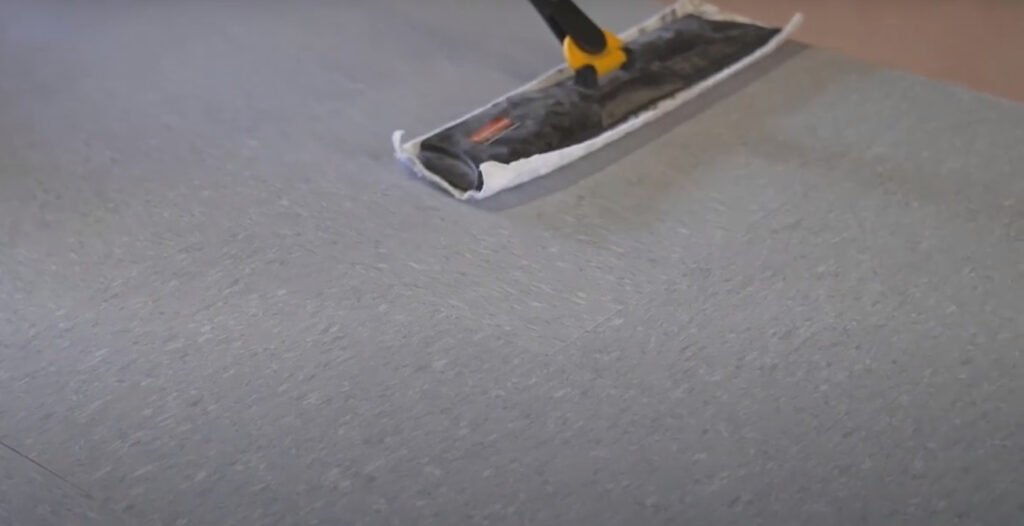
Now that your floor is clean and in good condition, you’re ready to start sealing. But before you do, it’s important to choose the right sealer. There are various types of sealers available on the market, each designed for specific types of vinyl flooring. Make sure to choose one that’s suitable for your floor.
The process of applying the sealer is relatively straightforward:
- Start by pouring a small amount of sealer onto the floor.
- Using a paint roller, spread the sealer evenly across the surface, working in small sections.
- Make sure to apply the sealer in thin, even layers to avoid creating bubbles or streaks.
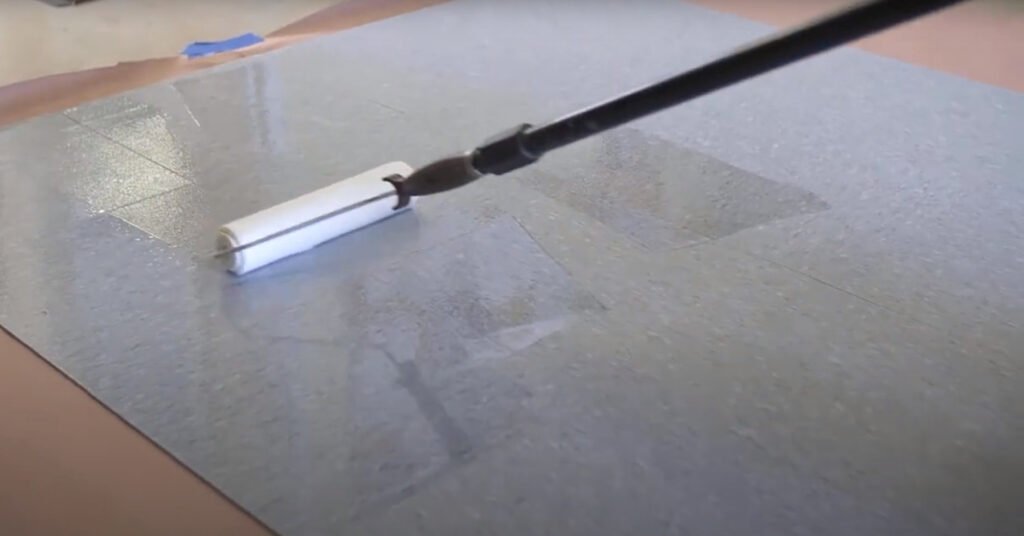
- Once you’ve covered the entire floor, let the sealer dry. The drying time can vary depending on the type of sealer you’re using, so it’s best to check the manufacturer’s instructions. As a general rule, you should wait at least 24 hours before walking on the floor to ensure the sealer has fully cured.
Sealing your vinyl flooring is a relatively simple process, but it requires careful preparation and execution. By following these steps, you can protect your floor and keep it looking its best for years to come. In the next section, we’ll discuss how to seal vinyl flooring seams, an equally important aspect of thesealing process.
How to Seal Vinyl Flooring Seams
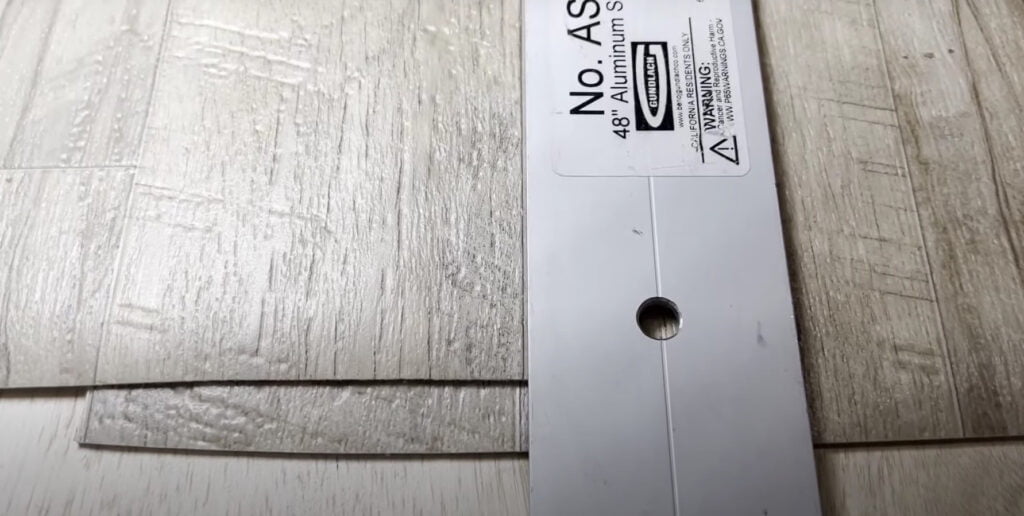
Sealing the seams of your vinyl flooring is just as important as sealing the surface. The seams are where two pieces of vinyl flooring meet, and if left unsealed, they can allow moisture to seep underneath the flooring, leading to potential damage.
Here’s how to seal vinyl flooring seams:
- Start by thoroughly cleaning the seams. Any dirt or debris can prevent the sealer from adhering properly.
- Once the seams are clean, apply a seam sealer, which is a special type of sealer designed to bond the edges of vinyl flooring together.
- Carefully apply the seam sealer along the seams, ensuring it fully covers the edges of the flooring.
- After applying the seam sealer, use a seam roller to press down the seams. This helps to bond the flooring together and ensures a smooth, even finish.
- Once you’ve sealed all the seams, allow the sealer to dry fully before walking on the floor.
Sealing the seams of your vinyl flooring not only enhances its appearance but also improves its durability and water resistance. For more detailed instructions on this process, check out our guide on how to install vinyl flooring.
Post-Sealing Care and Maintenance

After sealing your vinyl flooring, it’s essential to maintain it properly to ensure it continues to look and perform its best. Regular cleaning is crucial, but be sure to use products that are safe for sealed vinyl floors. Avoid using abrasive cleaners or tools that could scratch the surface.
In addition to regular cleaning, it’s also important to monitor the condition of the sealer. Over time, the sealer may start to wear off, especially in high-traffic areas. If you notice the sealer starting to wear thin or if the floor starts to look dull, it may be time to reseal. The frequency of resealing can vary depending on the type of sealer used and the amount of traffic the floor receives, but generally, vinyl floors should be resealed every 1-2 years.
Common Mistakes to Avoid When Sealing Vinyl Flooring
While sealing vinyl flooring is a relatively straightforward process, there are a few common mistakes to avoid.
- Failing to prepare the floor properly: As mentioned earlier, any dirt or debris left on the floor can get trapped under the sealer, leading to an uneven finish. Make sure to clean the floor thoroughly before sealing.
- Applying too much sealer: While it might be tempting to apply a thick layer of sealer for extra protection, this can actually lead to problems. Too much sealer can take longer to dry and can result in a sticky or tacky finish. It’s best to apply thin, even layers of sealer.
- Not allowing enough drying time: Walking on the floor before the sealer has fully cured can damage the finish. Always check the manufacturer’s instructions for the recommended drying time, and when in doubt, allow extra time.
Avoiding these common mistakes can help ensure a successful sealing process and a beautiful, durable finish for your vinyl floor. For more tips and tricks on working with vinyl flooring, check out our guide on how to cut vinyl flooring.
The Lifespan of Sealed Vinyl Flooring
One of the many benefits of sealing your vinyl flooring is the extended lifespan it provides. A well-sealed vinyl floor can last for many years, even in high-traffic areas. The sealer acts as a protective barrier, shielding the floor from scratches, stains, and water damage.
However, the lifespan of your sealed vinyl floor also depends on the quality of the sealer used and how well it’s maintained. Regular cleaning and periodic resealing will help keep your floor looking its best and ensure it lasts as long as possible.
If you’re curious about the typical lifespan of a vinyl floor, our article on how long does vinyl floor last provides a detailed overview. It’s worth noting that a well-maintained, sealed vinyl floor can often exceed the average lifespan.
Addressing Common Issues with Sealed Vinyl Flooring
Even with proper sealing and maintenance, you may encounter some common issues with your vinyl flooring. These can include scratches, scuffs, or even slight discoloration over time.
The good news is, many of these issues can be easily addressed without needing to replace the entire floor. For instance, minor scratches can often be buffed out, while scuffs can be cleaned with a suitable vinyl floor cleaner.
For more serious issues, such as tears or deep scratches, you may need to repair the affected area. Our guide on how to fix and repair vinyl flooring provides step-by-step instructions on how to handle these types of repairs.
Frequently Asked Questions
In Summary,
Sealing your vinyl flooring is a worthwhile investment of time and effort. Not only does it enhance the appearance of your floor, but it also provides a protective layer that extends its lifespan and makes maintenance easier.
Whether you’re installing new vinyl flooring or looking to improve the durability of your existing floor, sealing is a step you shouldn’t skip. With the right tools, a bit of preparation, and a careful application process, you can successfully seal your vinyl flooring and enjoy the benefits for years to come.
Remember, at Okayflooring, we’re here to help you every step of the way. From choosing the right vinyl flooring to providing tips and guides on installation and maintenance, we’re your go-to resource for all things flooring.
So why wait? Discover the difference a well-sealed vinyl floor can make in your home today!