How To Fix Gaps In Vinyl Plank Flooring
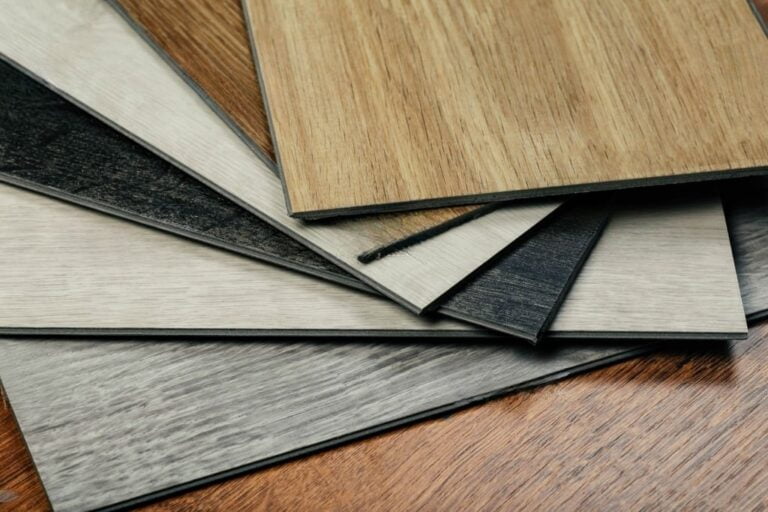
If you have vinyl plank flooring in your home or office, you may have noticed gaps appearing between the planks…
If you have vinyl plank flooring in your home or office, you may have noticed gaps appearing between the planks over time. These gaps can be unsightly and can also allow dirt and debris to accumulate, making your floors more difficult to clean.
Fortunately, fixing gaps in vinyl plank flooring is a relatively straightforward process that can be done with a few basic tools and materials. In this article, we’ll walk you through the steps you’ll need to take to repair gaps in your vinyl plank flooring and prevent them from recurring in the future.
Before we dive into the specifics of how to fix gaps in vinyl plank flooring, it’s important to understand what causes these gaps to appear in the first place. Some common causes of gaps in vinyl plank flooring include changes in temperature and humidity, improper installation, and wear and tear over time.
By identifying the root cause of the gaps, you can take steps to address the underlying issue and prevent future gaps from forming. With that in mind, let’s get started on fixing those gaps!
Identifying the Cause of the Gaps
If you’re noticing spaces in your vinyl flooring, it’s important to identify the root of the issue before taking any corrective measures.
One common mistake is not allowing the planks to acclimate to the room’s temperature and humidity before installation. Vinyl flooring is sensitive to ambient temperature and humidity, and if not given ample time to adjust, it can expand or contract, leaving gaps between the planks.
Another troubleshooting tip is to check the subfloor underneath the vinyl planks. Any imperfections or unevenness in the subfloor can cause the planks to shift and create gaps.
Additionally, if the subfloor is not clean or dry, the adhesive may not bond properly, causing the planks to separate and leave gaps.
Lastly, it’s important to consider the installation method used. If the planks were not installed correctly, gaps can appear. Ensure that the planks are snugly fitted together, and that the seams are securely locked. If the planks were cut incorrectly or not staggered properly, gaps can also appear.
It’s important to follow the manufacturer’s guidelines for installation and to use the correct tools and techniques to avoid any installation errors.
Tools and Materials You’ll Need
To properly address the issue of gaps in vinyl plank flooring installation, it’s important to gather all of the necessary tools and materials that will aid in the resolution of the problem.
Some common tools that you may need include a pry bar, a rubber mallet, a hammer, a saw, a measuring tape, and a utility knife.
Additionally, you may need materials such as wood shims, floor adhesive, and a floor gap fixer tool.
When dealing with gaps in vinyl plank flooring, it’s important to avoid common mistakes that can further exacerbate the issue.
For example, using too much force when trying to fix the gap can cause damage to the surrounding planks or even the subfloor.
It’s also important to make sure that the surrounding area is clean and free of debris before attempting to fix any gaps.
Lastly, it’s important to note that fixing gaps in vinyl plank flooring can be a challenging task, especially for those who are not experienced in flooring installation.
It’s always a good idea to consult with a professional to ensure that the job is done correctly and to avoid any further damage to the flooring.
By gathering the necessary tools and materials and avoiding common mistakes, you can successfully fix gaps in your vinyl plank flooring and restore the look and feel of your space.
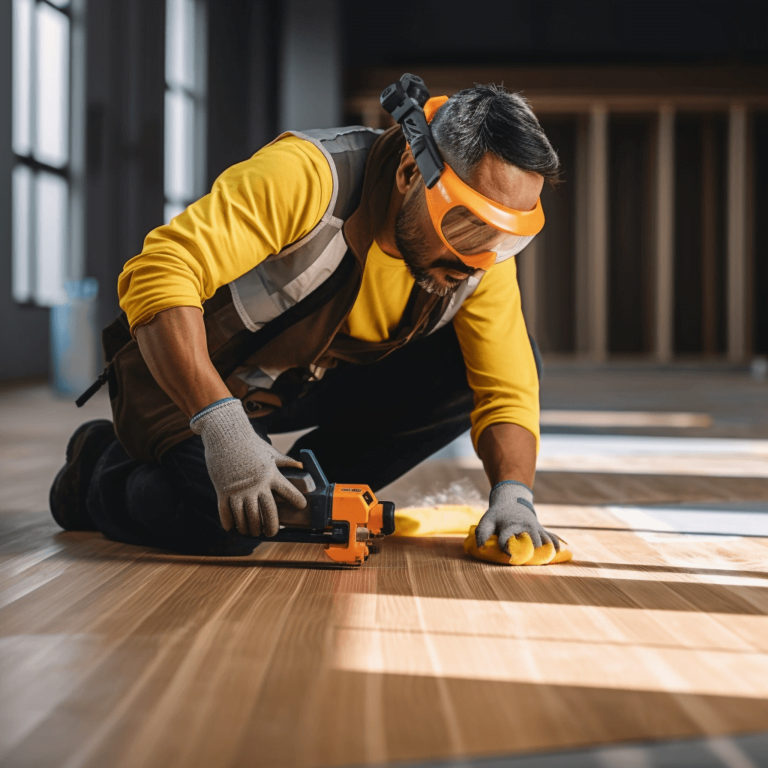
Preparing the Flooring for Repair
Before repairing the gaps, it’s important to prepare the area by cleaning any debris and ensuring that the vinyl plank flooring is securely in place.
Start by sweeping or vacuuming the floor to remove any dust, dirt, or debris that may have accumulated.
Next, check the subfloor for any signs of moisture or damage. Moisture testing can be done using a moisture meter to determine if there is any excess moisture that could cause further damage to the flooring.
If moisture is present, it’s important to address the issue before repairing the gaps to prevent any further damage.
Once you’ve completed the moisture testing and subfloor preparation, it’s time to check the vinyl plank flooring for any loose or damaged planks.
Check for any planks that are not securely in place or have any visible signs of damage.
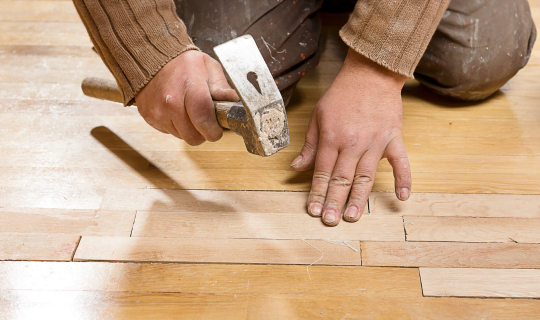
If there are any loose planks that need to be repaired, use a pry bar to lift the plank, apply adhesive to the subfloor, and press the plank back into place.
Allow the adhesive to dry completely before continuing with the gap repair.
In summary, preparing the vinyl plank flooring for repair involves cleaning the area and ensuring that the subfloor is in good condition.
Moisture testing is essential to prevent further damage to the flooring.
Checking the vinyl planks for any loose or damaged areas is also crucial before repairing any gaps.
By taking these steps to prepare the area, you’ll ensure a successful repair and prevent any future issues with the vinyl plank flooring.
Fixing Small and Large Gaps
Don’t let small or large gaps in your beautiful new floors ruin the look of your home, learn how to repair them like a pro!
When it comes to fixing gaps in vinyl plank flooring, it’s important to start by measuring the size of the gap. This will help you determine the best filler options and tools to use. There are a variety of gap measuring techniques you can use, such as using a ruler, caliper, or gap gauge tool.
Once you’ve determined the size of the gap, you can move on to selecting the right filler material. For small gaps, you can use a vinyl floor repair kit that includes a filler putty and leveling tool. These kits often come in a variety of colors to match your flooring.
Simply apply the filler putty into the gap, level it with the tool, and let it dry according to the manufacturer’s instructions. For larger gaps, you may need to use a more heavy-duty filler material, such as wood filler or epoxy. These fillers can be applied in layers until the gap is completely filled, sanded down, and then stained or painted to match the surrounding flooring.
It’s important to note that while fixing gaps in vinyl plank flooring can be done DIY, it may be best to hire a professional if you’re unsure of the process. A professional will have the experience and tools to ensure that the repair is done correctly and seamlessly.
However, with the right tools, materials, and techniques, you can fix gaps in your vinyl plank flooring and restore the beauty of your home’s floors.
Preventing Future Gaps in Vinyl Plank Flooring
Keep your new floors looking flawless by taking preventative measures against future gaps. Proper installation and maintenance techniques are key in preventing gaps in your vinyl plank flooring. Here are four tips to help you keep your floors looking perfect for years to come:
-
Choose the right underlayment: A proper underlayment can help prevent gaps from forming by providing a stable base for your vinyl planks. Make sure to choose an underlayment that’s compatible with your flooring and install it correctly.
-
Control your home’s humidity levels: Vinyl plank flooring can expand and contract with changes in temperature and humidity. To prevent gaps from forming, keep your home’s humidity levels between 30% and 50% throughout the year.
-
Use furniture pads: Heavy furniture can cause gaps to form in your vinyl plank flooring over time. To prevent this, use furniture pads under all of your furniture to distribute the weight evenly and protect your floors.
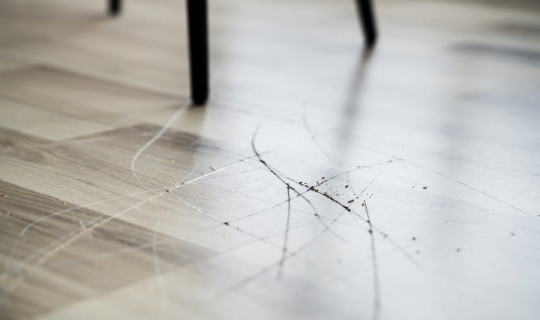
-
Keep your floors clean: Dirt and debris can get trapped in the small gaps between your vinyl planks, causing them to expand and contract unevenly. Regularly cleaning your floors with a damp mop or vacuum can help prevent this.
By following these preventative measures, you can keep your vinyl plank flooring looking beautiful and gap-free for years to come.
Remember to always consult the manufacturer’s instructions for proper installation and maintenance techniques to ensure the longevity of your floors.
Conclusion
Overall, fixing gaps in vinyl plank flooring can be a relatively straightforward process that can be completed with just a few tools and materials.
The first step is to identify the cause of the gaps, which can be caused by a number of factors such as improper installation, temperature changes, or moisture damage.
Once the cause has been identified, the next step is to prepare the flooring for repair by cleaning and sanding the affected area.
Fixing small gaps can be done by applying a vinyl plank adhesive to the gap and pressing the planks together. For larger gaps, a vinyl plank filler can be used to fill in the gap and create a smooth surface.
To prevent future gaps from forming, it’s important to properly acclimate the vinyl planks before installation, ensure that the subfloor is level and free of debris, and maintain proper humidity levels in the room.
By following these steps, you can ensure that your vinyl plank flooring remains free of gaps and looks great for years to come.